Hey there! If you’re like me, holiday baking means getting into the festive spirit with colorful, eye-catching cookies. Nothing says Christmas quite like beautifully decorated sugar cookies topped with shiny, colorful icings and sprinkles. And if you want to take it a step further, why not add some Christmas lights—those twinkling, sparkling decorations that set your cookies apart and bring a little extra holiday magic to your table!
Today, I’ll walk you through everything you need to make stunning Christmas Lights Sugar Cookies from scratch. From the basic ingredients, detailed steps, to decorating tips—consider this your complete guide to impress everyone with your baking skills and festive flair.

What Are Christmas Lights Sugar Cookies?
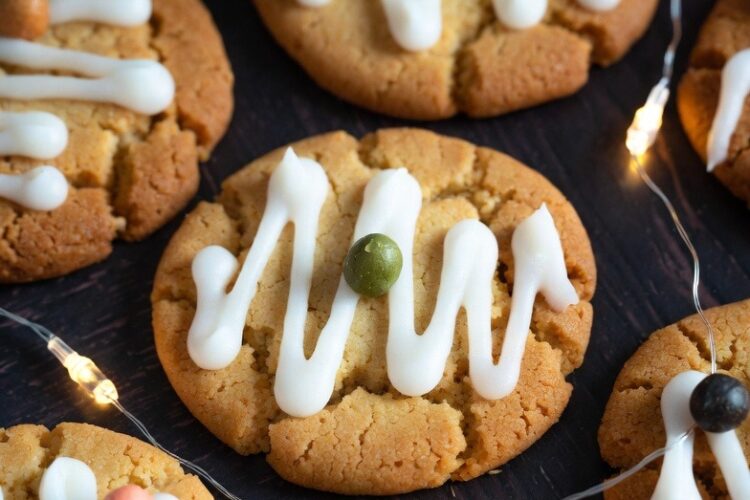
Christmas lights sugar cookies are classic, buttery sugar cookies shaped into various forms—like bulbs, strands, or even tiny lanterns—and decorated with vibrant royal icing or colored frosting to mimic Christmas string lights. These cookies are perfect for holiday parties, cookie exchanges, or simply enjoying a festive bake at home.
Why Make Christmas Lights Sugar Cookies?
- Visual Appeal: Bright colors and shiny decorations make these cookies stand out.
- Festive Fun: Perfect activity for family or friends, especially kids!
- Versatility: Customize with different colors, shapes, and decorations.
- Gift-Worthy: Wrap them up in clear bags for holiday presents.
Materials Needed
| Item | Quantity/Size | Notes |
|---|---|---|
| Unsalted Butter | 1 cup (2 sticks) | Softened at room temperature |
| Granulated Sugar | 1 cup | Fine grain for smooth dough |
| Large Egg | 1 | Brings structure and richness |
| Pure Vanilla Extract | 1½ teaspoons | For flavor enhancement |
| Baking Powder | 1 teaspoon | Leavens the cookies |
| Salt | ½ teaspoon | Enhances overall flavor |
| All-Purpose Flour | 3½ cups | Enough for sturdy, rollable dough |
Royal Icing Ingredients (for decorating):
| Item | Quantity | Notes |
|---|---|---|
| Confectioners’ Sugar | 3 cups | Sifted for smooth icing |
| Egg Whites or Meringue Powder | 2 large egg whites OR 2 tbsp meringue powder | For glossy, firm icing |
| Lemon Juice | 1 teaspoon | Adds brightness to flavor |
| Food Coloring | Various | Gel or liquid, vibrant colors |

Tips for Success
- Use high-quality ingredients: They make a noticeable difference in flavor and icing brightness.
- Keep ingredients cold when needed: Especially butter, to achieve flaky, tender cookies.
- Chill your dough: It helps prevent spreading and makes cutting shapes easier.
- Use proper tools: Sharp cookie cutters for shapes, piping bags, and fine tips for decorating.
- Practice patience: Decorating takes time, so don’t rush the icing drying process.
Step-by-Step Guide to Making Christmas Lights Sugar Cookies
1. Preparing the Cookie Dough
Step 1: Cream the butter and sugar together.
Step 2: Add the egg and vanilla extract; mix thoroughly.
Step 3: In a separate bowl, whisk together the flour, baking powder, and salt.
Step 4: Gradually add dry ingredients to the wet mixture, mixing until just combined.
Step 5: Divide the dough into two balls, flatten into disks, wrap in plastic wrap, and chill for at least 1 hour.
2. Cutting and Baking the Cookies
Step 1: Preheat your oven to 350°F (175°C).
Step 2: Lightly flour your work surface and rolling pin.
Step 3: Roll out one dough disk at a time to about ¼-inch thickness.
Step 4: Use cookie cutters to cut into festive shapes—like light bulbs, strands, or trees.
Step 5: Place cutouts onto parchment-lined baking sheets.
Step 6: Bake for 8–10 minutes, until edges are just golden.
Step 7: Remove from oven and let cool completely before decorating.
3. Preparing Royal Icing
Step 1: If using egg whites, beat them until frothy. If using meringue powder, prepare according to package instructions.
Step 2: Gradually add confectioners’ sugar and lemon juice.
Step 3: Beat until icing reaches stiff peaks for piping consistency—add a little water if needed to thin for flooding.
4. Decorating the Cookies: Creating Christmas Lights
Step 1: Divide the royal icing into smaller bowls; tint each with food coloring to create vibrant colors for bulbs, cords, and other details.
Step 2: Fill piping bags fitted with fine tips (like #1 or #2) with different colors.
Step 3: Outline and flood the cookies with base colors, letting each layer dry for about 30 minutes.
Step 4: Use contrasting colors to pipe tiny bulbs, cords, and blinking lights to mimic Christmas string lights.
Step 5: Add edible glitter or pearl finishes for extra shine.
Step 6: Allow decorated cookies to dry completely (several hours or overnight).
Tips for Perfect Decoration
- Plan your design beforehand: Sketch it out or practice on parchment paper.
- Use a steady hand: Keep piping bags straight and consistent for tidy lines.
- Dry thoroughly: To avoid smudging, give your cookies enough drying time.
- Experiment with textures: Try different icing consistencies (flooding vs. piping) for variation.
- Add sparkle: Edible glitter or shimmer powder enhances the festive look.
Common Mistakes and How to Avoid Them
| Mistake | How to Fix or Avoid |
|---|---|
| Dough is too warm | Chill the dough longer; warm dough spreads during baking. |
| Icing is too runny | Use more powdered sugar to thicken or let icing rest briefly before piping. |
| Overfilling piping bags | Don’t overload; fill only a third of the bag for better control. |
| Rushing drying process | Be patient! Allow plenty of time for icing to set before stacking or storing. |
| Uneven shapes | Use consistent rolling thickness and straight cookie cutters. |
Variations to Make Your Cookies Stand Out
- Different Shapes: Incorporate holiday symbols—stars, snowflakes, Christmas trees.
- Themed Colors: Use metallic or shimmer icings, like gold or silver accents.
- Additional Decorations: Add edible pearls, sprinkles, or candy beads for 3D effects.
- Flavor Twists: Incorporate spices like cinnamon or nutmeg into the dough for extra warmth.
- Gluten-Free Version: Substitute all-purpose flour with gluten-free flour if needed.
Wrapping Up
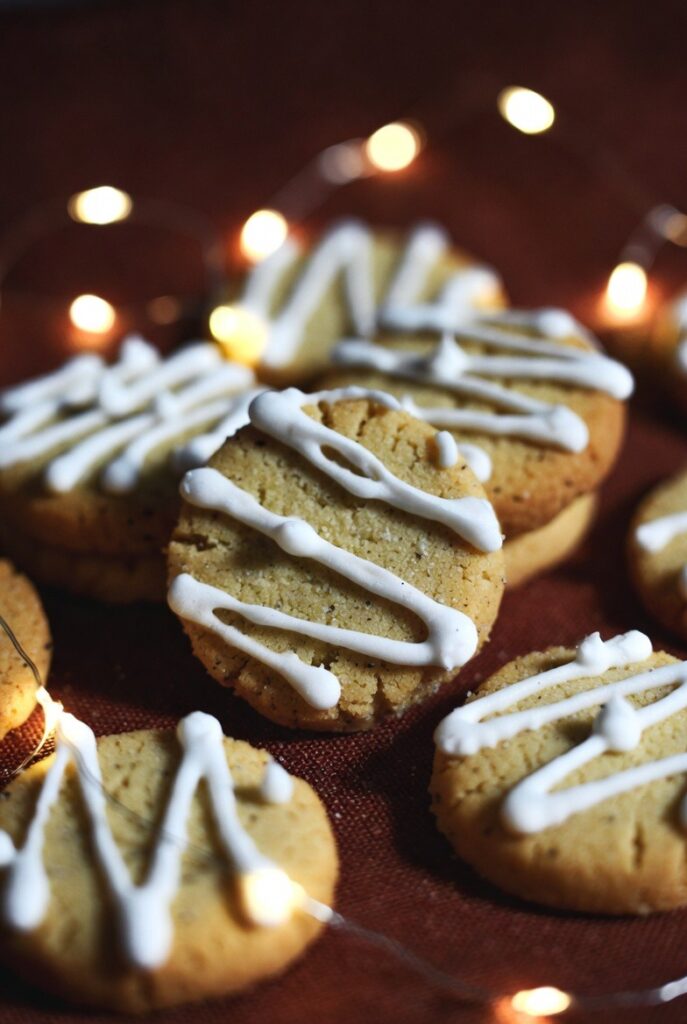
Making Christmas Lights Sugar Cookies is a delightful holiday activity that combines baking, creativity, and festive cheer. With the right ingredients, a little patience, and some decorating flair, you can produce eye-catching cookies that sparkle just like Christmas lights. So gather your loved ones, get your supplies ready, and have fun creating these bright, beautiful treats that are sure to wow everyone!
Remember, practice makes perfect, and every batch is a chance to learn something new. Whether you’re baking for family, friends, or holiday gifts, these cookies will surely brighten up any celebration. Happy baking, and may your holiday season be filled with sweetness and sparkle!