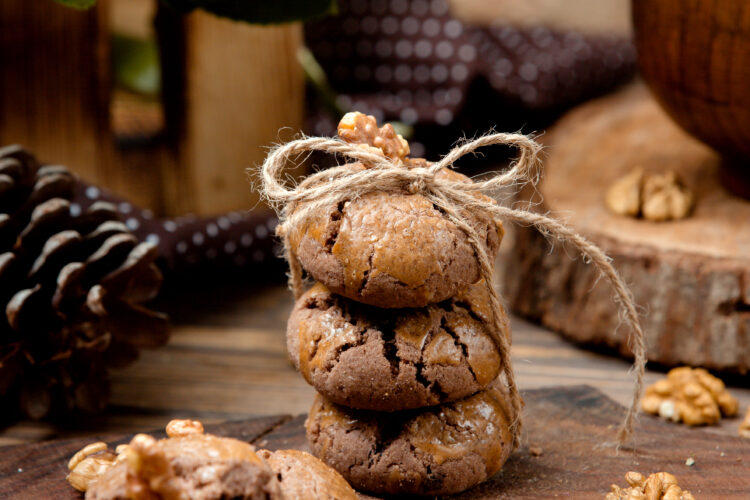
Ever find yourself craving a sweet, nutty treat that hits all the right notes? Walnut cookies are exactly that—crisp on the edges, soft in the center, with a hearty nutty flavor that makes them irresistible. Whether you’re an experienced baker or just starting out, mastering this recipe will give you cookies that impress friends, family, or just satisfy your personal sweet tooth. Today, I’ll walk you through everything you need to know—from the basics to pro tips—so you can bake bakery-quality walnut cookies right at home.
Let’s get into the nitty-gritty of creating those perfect, buttery, crunchy cookies packed with wholesome walnuts.
What Are Walnut Cookies?
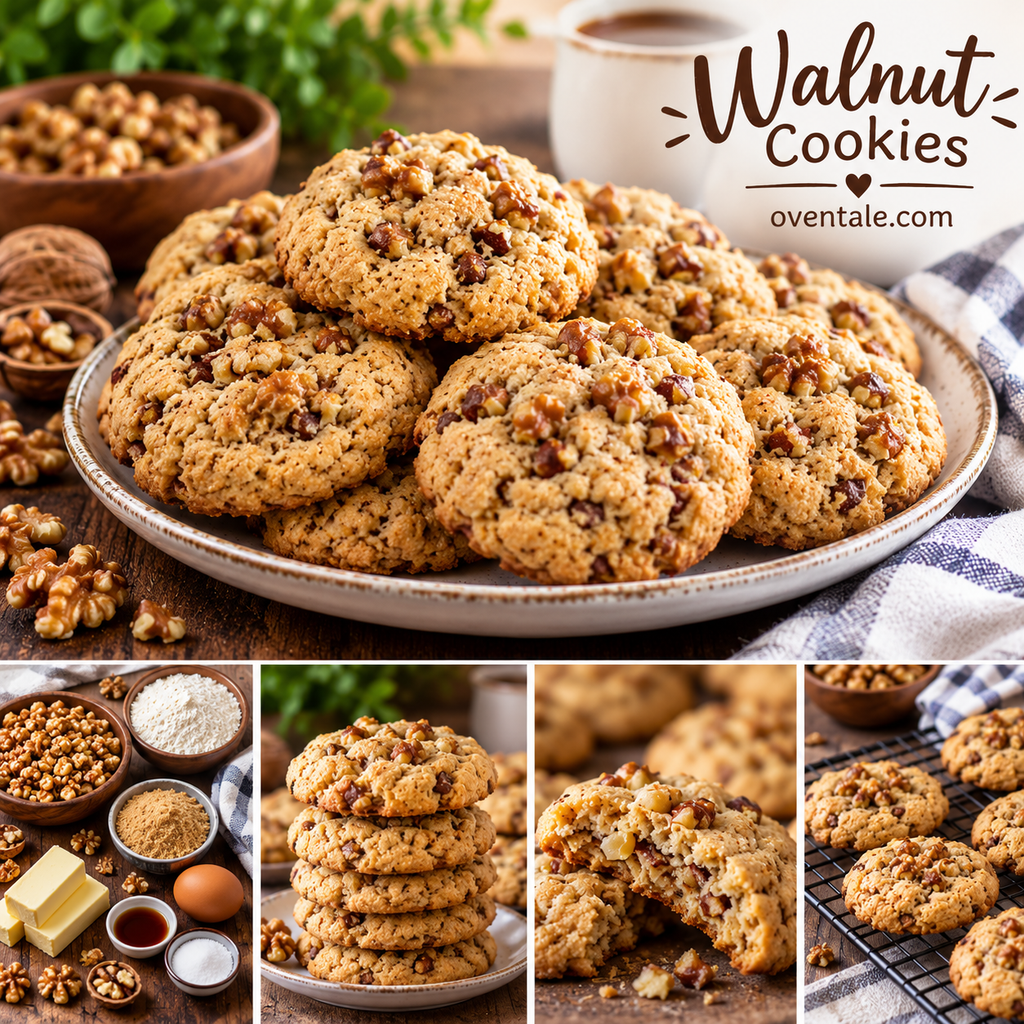
Walnut cookies are a type of sweet biscuit that prominently features walnuts as a flavor and texture enhancer. They often have a buttery or vanilla-flavored base, offering a rich taste complemented by the slight bitterness of walnuts. These cookies can be chewy, crisp, or a delightful mix of both, depending on their preparation style.
Definition List:
- Walnuts: Rich in healthy fats, antioxidants, and vitamin E, walnuts add not only flavor but also nutritional value.
- Cookies: Baked sweet treats, typically made from flour, sugar, fat (butter/oil), and flavorings, often with add-ins like nuts, chocolate, or dried fruits.
Why Make Walnut Cookies at Home?
You might wonder, “Why should I try making walnut cookies myself?” Well, here’s the scoop:
- Freshness & Nutrition: Homemade cookies are free from preservatives and artificial additives.
- Customization: You control the sweetness, texture, and nut quantity.
- Cost-Effective: Baking at home often costs less than store-bought.
- Flavor Control: Want more walnuts or less sugar? You got it!
- Therapeutic & Fun: Baking can be a relaxing activity and a chance to express creativity.
Essential Materials & Ingredients
Before diving into the baking process, it’s vital to have all materials and ingredients ready. Here’s a detailed breakdown:
Materials Needed
| Item | Quantity / Notes |
|---|---|
| Mixing bowls | 2 large bowls |
| Electric mixer or whisk | For creaming butter and sugar |
| Baking sheet | Standard or cookie sheet |
| Parchment paper or silicone baking mat | To prevent sticking |
| Cooling rack | For cooling baked cookies |
| Measuring cups and spoons | For accuracy |
| Spatula | For mixing and scraping |
| Cookie scoop or spoon | Optional, but helpful for uniform cookies |
Ingredients
| Ingredient | Quantity / Notes |
|---|---|
| Unsalted butter | 1 cup (227 grams), at room temperature |
| Granulated sugar | ¾ cup (150 grams) |
| Light brown sugar | ¼ cup (50 grams), packed |
| Eggs | 1 large egg |
| Vanilla extract | 1 teaspoon |
| All-purpose flour | 2 ½ cups (310 grams) |
| Baking powder | 1 teaspoon |
| Salt | ¼ teaspoon |
| Chopped walnuts | 1 ½ cups (roughly 150 grams), toasted for better flavor |
| Optional: Almond extract or cinnamon | ¼ teaspoon (for added flavor variation) |
The Art of Making Walnut Cookies: Step-by-Step Guide
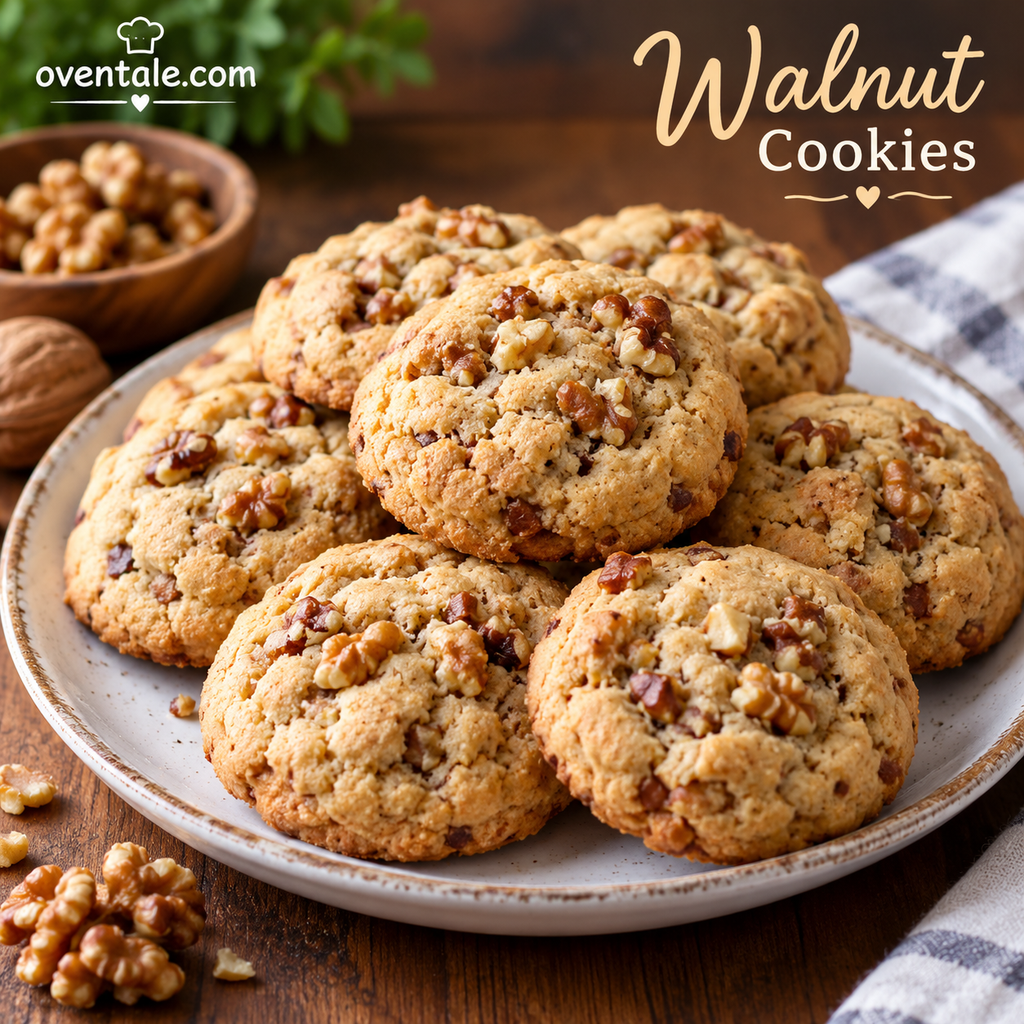
Creating perfect walnut cookies involves a few simple steps, but paying attention to detail makes all the difference. Here’s a comprehensive, easy-to-follow process:
Step 1: Prep Your Ingredients & Equipment
- Measure all ingredients accurately.
- Toast walnuts in a dry skillet or oven at 350°F (177°C) for about 5-8 minutes until fragrant, then chop coarsely.
- Line your baking sheet with parchment paper.
Step 2: Cream Butter and Sugars
- In a large bowl, combine the softened butter, granulated sugar, and brown sugar.
- Use an electric mixer or whisk to beat until light, fluffy, and pale—about 3-4 minutes.
Step 3: Add Eggs and Flavorings
- Beat in the egg followed by vanilla extract (and optional almond extract or cinnamon).
- Mix until well incorporated.
Step 4: Mix Dry Ingredients
- In a separate bowl, whisk together flour, baking powder, and salt.
- Gradually add the dry mixture into the wet ingredients, mixing on low speed until just combined.
Step 5: Fold in Walnuts
- Gently fold in the toasted, chopped walnuts using a spatula to distribute evenly without overmixing.
Step 6: Shape & Bake
- Using a cookie scoop or spoon, portion out dough onto the prepared baking sheet—leave about 2 inches between cookies.
- Flatten slightly if you prefer a more spread-out cookie.
- Bake in a preheated oven at 350°F (177°C) for 10–12 minutes, or until edges turn golden brown.
Step 7: Cooling & Serving
- Let cookies cool on the baking sheet for 5 minutes before transferring to a wire rack.
- Cool completely before storing in an airtight container for maximum freshness.
Tips for Success
- Use room temperature butter for smoother mixing and better cookie texture.
- Toast walnuts prior to baking to enhance their flavor.
- Do not overmix the dough once you add dry ingredients to keep the cookies tender.
- Chill the dough for 30 minutes if you want thicker, chewy cookies.
- Customize add-ins: Dried cranberries or chocolate chips can make delicious variations.
Common Mistakes & How to Avoid Them
| Mistake | Solution |
|---|---|
| Using cold butter | Use softened, room temperature butter for easier creaming |
| Overmixing the dough | Mix just until ingredients are combined to prevent tough cookies |
| Not toasting walnuts | Toast walnuts for at least 5 minutes for deeper flavor |
| Baking at wrong temperature | Always preheat your oven; use an oven thermometer for accuracy |
| Overcrowding baking sheet | Leave enough space between cookies to allow spreading |
Variations to Try: Making Your Walnut Cookies Unique
- Chocolate Walnut Cookies: Add ¾ cup of mini chocolate chips or chopped dark chocolate.
- Spiced Walnut Cookies: Incorporate ½ teaspoon cinnamon and a pinch of nutmeg into the dry ingredients.
- Glazed Walnut Cookies: Drizzle with a simple glaze made of powdered sugar and a splash of milk once cooled.
- Vegan Version: Replace butter with vegan margarine or coconut oil, and use flaxseed eggs.
Wrapping Up & Action Points
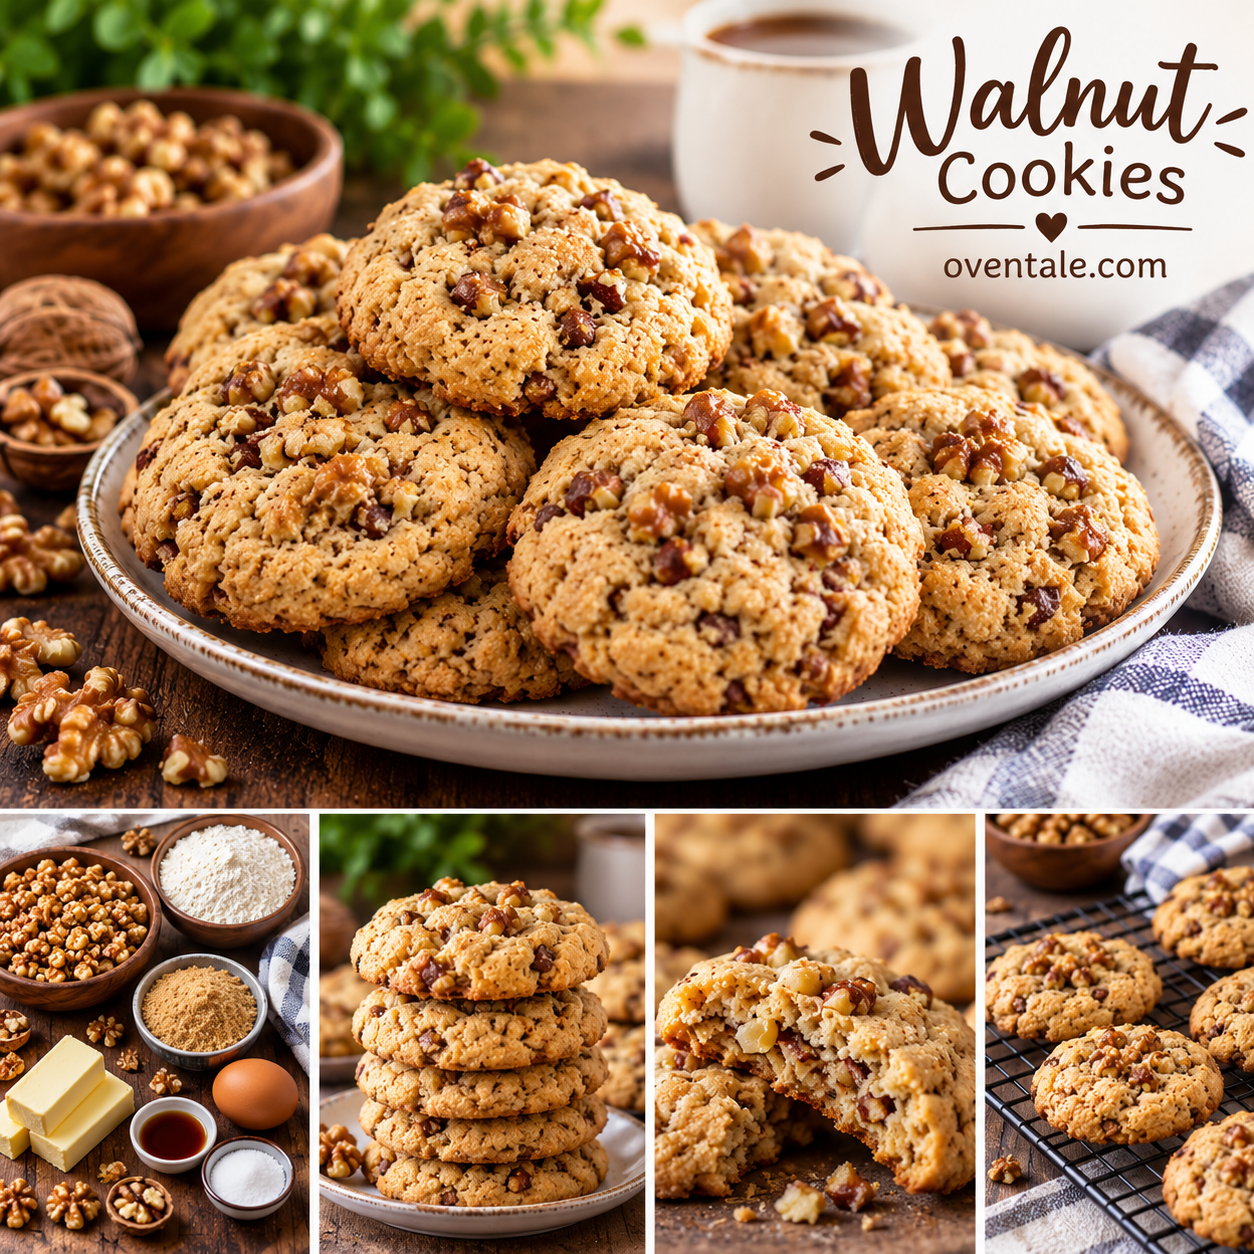
Now that you have a detailed, step-by-step guide to making the perfect walnut cookies, it’s time to get baking! Remember, quality ingredients, proper planning, and attention to detail will give you cookies that are not only delicious but also beautifully crafted. Feel free to customize the recipe, experiment with flavors, and most importantly—enjoy the process and the sweet rewards.
Happy baking! And next time you want a nutty, buttery treat, you’ll know exactly how to whip up these irresistible walnut cookies.