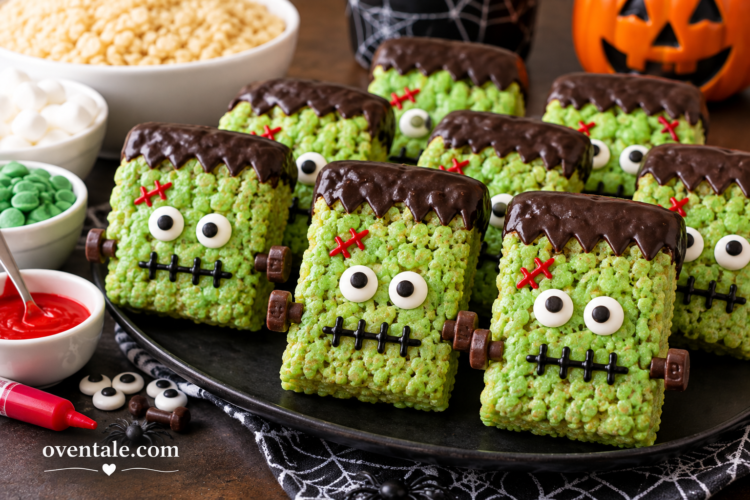
Ever wondered how to create a Halloween treat that’s not only fun but also super easy to make? If you’re into party snacks or just want to get creative with a classic dessert, Frankenstein Rice Krispies Treats are your answer. This fun twist on the beloved cereal treat combines the gooey goodness of marshmallow and crispy rice with a spooky Frankenstein-inspired design that’s perfect for kids and adults alike. But wait—there’s more to it than just mixing marshmallows and cereal! Today, I’ll walk you through everything you need to know, from materials to tips, so your Frankenstein treats turn out fantastic every time.
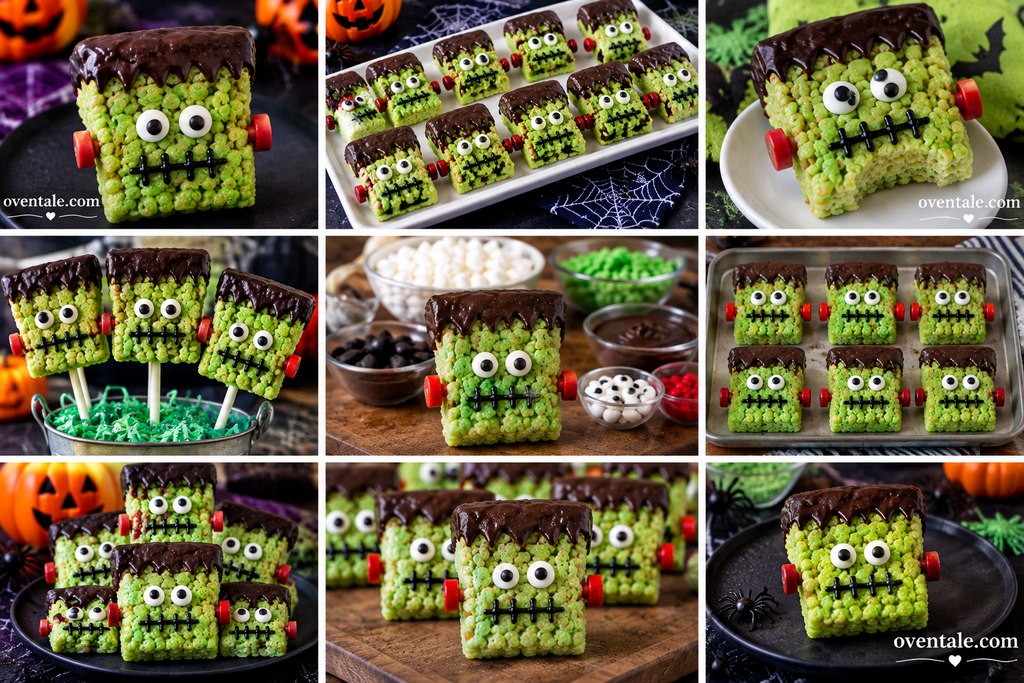
What Are Frankenstein Rice Krispies Treats?
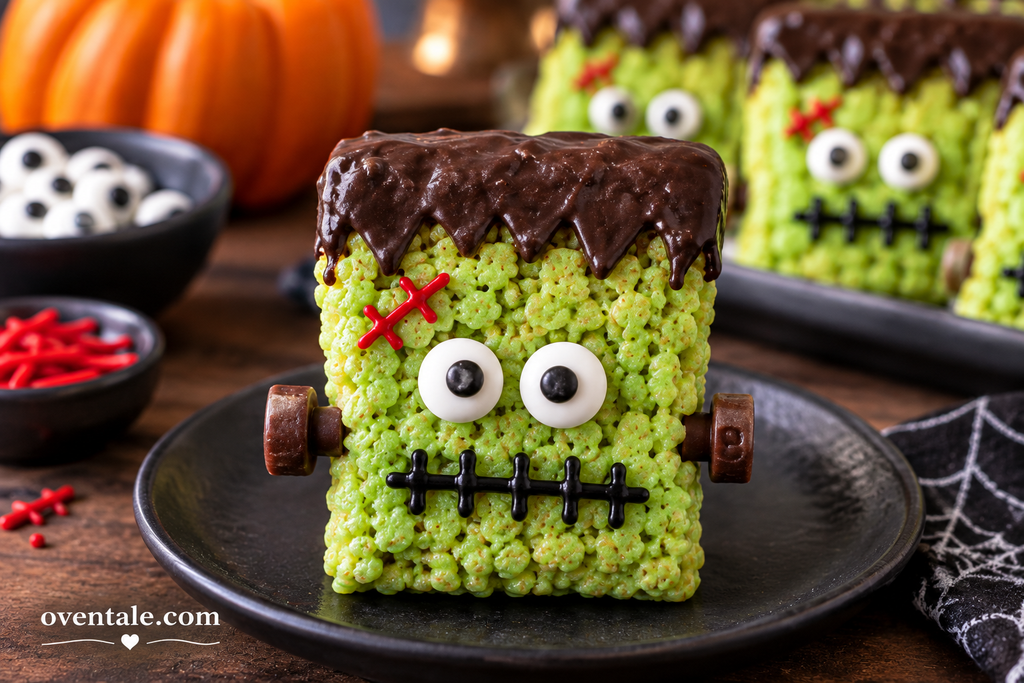
Think of Frankenstein Rice Krispies Treats as a playful, themed Halloween snack. They’re essentially the classic Rice Krispies Treats but decorated to look like Frankenstein’s monster. Bright green hues, spooky facial features, and sometimes even bolts or scars make these treats a standout at any spooky celebration.
Key Features:
- Decorative: Designed to resemble Frankenstein’s monster.
- Colors: Bright green, with black and gray accents.
- Fun & Easy: Suitable for bakers of all skill levels, including kids with supervision.
- Customizable: Can be personalized with different facial expressions or props.
Materials Needed for Frankenstein Rice Krispies Treats
Having the right materials at hand is essential for creating perfect Frankenstein treats. Here’s a detailed list, categorizing everything for your convenience:
| Material | Quantity/Size | Notes |
|---|---|---|
| Rice Krispies Cereal | 6 cups (about 180g) | Or any similar crispy rice cereal |
| Marshmallows | 4 cups (around 16 oz) | Use large sized marshmallows for easier melting |
| Unsalted Butter | 3 tablespoons | Adds richness and helps treats set |
| Green Food Coloring | 10-15 drops | To get that iconic Frankenstein green |
| Black Food Coloring or Black Gel Icing | As needed | For facial features |
| White Food Coloring or White Gel Icing | As needed | To create eyes or scars |
| Chocolate Chips or Edible Markers | For details | Optional: for added facial features or bolts |
| Lollipop Sticks or Treat Sticks | 6-8 pieces | For handling or standalone treats |
| Decorative Items | Optional | Plastic bolts, googly eyes, edible glitter |
Additional Tools
- Large mixing bowl
- Microwave-safe bowl
- Silicone spatula or wooden spoon
- Baking sheet or large tray
- Wax paper or parchment paper
- Small piping bags or toothpicks
- Scissors (for cutting decorations)
Making Frankenstein Rice Krispies Treats Step-by-Step
Now that we have all our materials ready, let’s get into the actual process. Follow these steps carefully for fun, tasty results!
Step 1: Prepare Your Workspace
Lay out all your ingredients and tools. Line your baking sheet with wax paper to prevent sticking. This prep ensures a smooth process.
Step 2: Melt Butter and Marshmallows
- Place 3 tablespoons of butter in a large microwave-safe bowl.
- Microwave for about 30-45 seconds until melted.
- Add marshmallows and microwave in 30-second intervals, stirring after each, until fully melted and smooth.
Step 3: Mix in Food Coloring
- Add 10-15 drops of green food coloring to the melted mixture.
- Stir thoroughly until the color is evenly distributed.
Step 4: Combine with Cereal
- Pour the green marshmallow mixture over the 6 cups of Rice Krispies.
- Gently fold together with a silicone spatula until all cereal is coated evenly.
Step 5: Shape the Treats
- Transfer the mixture onto your prepared baking sheet.
- With greased hands or a spatula, press the mixture into a flat, even layer about 1 to 1.5 inches thick.
- Allow to cool slightly so it’s firm enough to cut or shape.
Step 6: Cut and Decorate
- Once cooled, cut the treats into squares or rectangles.
- For a more dramatic look, you can also use cookie cutters for shapes.
Step 7: Create Frankenstein Faces
- Use black gel or food coloring to draw or pipe facial features like eyes, scars, and the iconic flat-top head.
- Attach googly eyes or edible eyeballs for a fun pop.
- Draw bolts or scars with black or metallic food coloring.
Step 8: Optional Embellishments
- Insert a lollipop stick into each treat if you want standalone puppets.
- Add edible glitter or sprinkles for extra spooky flair.
- Stick some plastic bolts or use edible metallic markers to create a true Frankenstein look.
Step 9: Final Touches and Storage
- Let decorations set for about 10-15 minutes.
- Store treats in an airtight container at room temperature for up to two days, or in the fridge for longer freshness.
Tips for Success in Making Frankenstein Rice Krispies Treats
- Color Consistency: For a vibrant green, use gel food coloring rather than liquid to avoid thinning the marshmallow mixture.
- Decorating Details: Use piping bags or toothpicks for delicate features; black gel is easier to control than runny food coloring.
- Treat Size: Keep treats uniform in size for even decorating and better presentation.
- Adding Texture: Incorporate small candy eyes or edible glitter for a more engaging look.
- Attachment of Decorations: Use a small dab of melted chocolate or edible glue to attach heavier decorations, like plastic bolts.
Common Mistakes and How to Avoid Them
| Mistake | Solution |
|---|---|
| Treats falling apart | Ensure treats are fully cooled before decorating. Don’t handle too much while still warm. |
| Uneven color | Mix food coloring thoroughly into the melted marshmallows before combining with cereal. |
| Decorations falling off | Use edible glue or a small amount of melted chocolate as an adhesive. |
| Overly sticky treats | Use a slightly damp spatula or greased hands to shape and cut treats smoothly. |
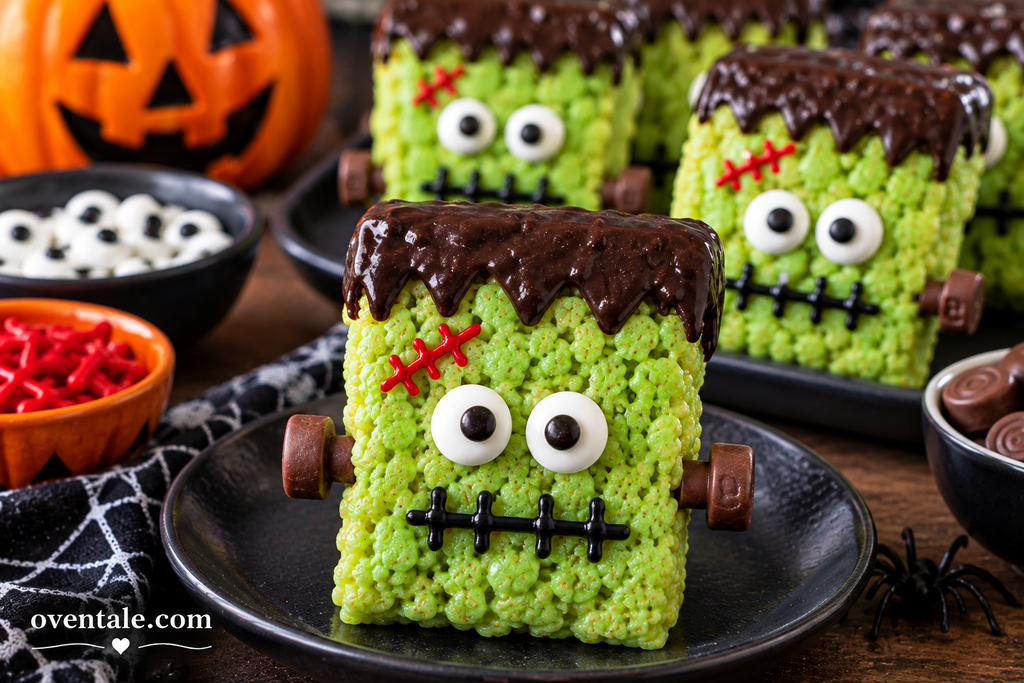
Variations to Make Your Frankenstein Rice Krispies Treats Unique
- Miniature Version: Use cookie cutters to create small, bite-sized Frankensteins perfect for parties.
- Different Colors: Experiment with purple, black, or orange marshmallow mixtures for non-traditional Halloween treats.
- Themed Accessories: Incorporate plastic Frankenstein heads or themed cupcake toppers.
- Flavor Twists: Add chocolate chips or peanut butter for a richer taste.
Wrapping It Up: Make Your Halloween Spooky and Delicious
With a little creativity and some basic ingredients, you can turn simple Rice Krispies Treats into a spooky, fun, and tasty treat that’s sure to delight everyone. Whether you’re baking for a Halloween party, classroom activity, or just dressing up your snacks, these Frankenstein treats will be a hit. Remember, the key to a perfect result is preparation, patience, and a dash of imagination!
So, start gathering your materials today, and get ready to wow your friends with these adorable, delicious Frankenstein Rice Krispies Treats!
Happy Halloween baking! And don’t forget—it’s not just about the treats; it’s about having fun and creating memorable moments.