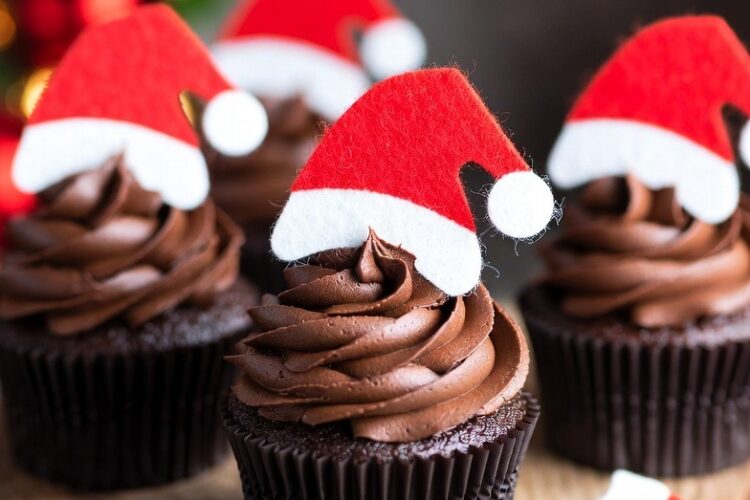
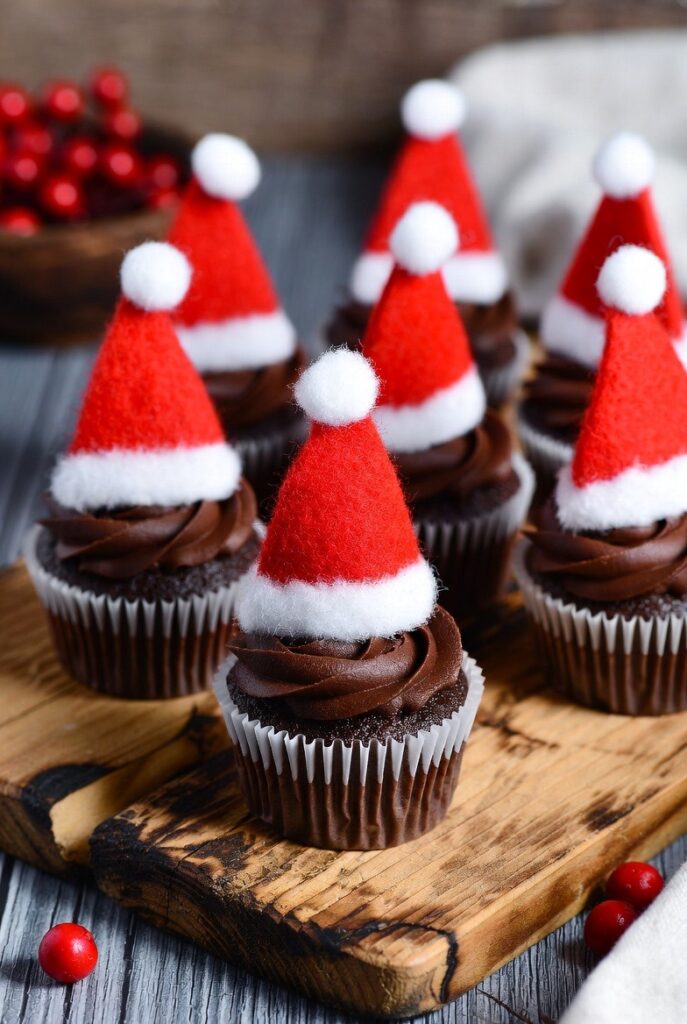
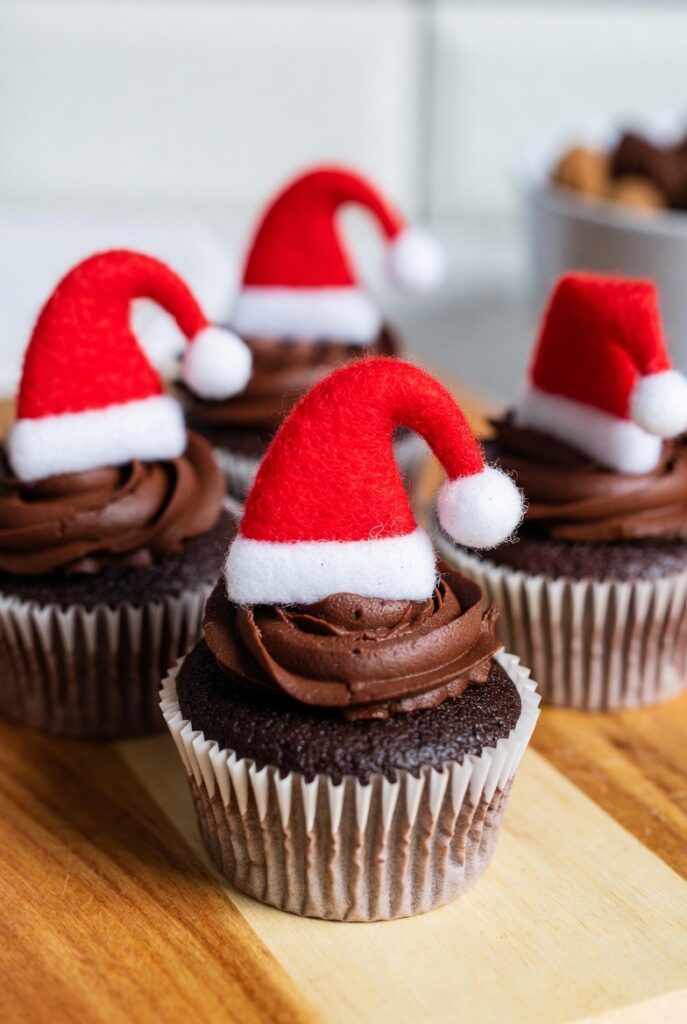
Hey friends! With the holiday season just around the corner, I bet many of you are looking for adorable, festive treats to bring joy to your gatherings. Well, today I’m excited to share a recipe that checks all the boxes: Santa Hat Chocolate Cupcakes! These cupcakes are not just tasty but also irresistibly cute—they’re perfect for Christmas parties, family get-togethers, or even a fun baking activity with kids.
In this detailed guide, I’ll walk you through everything you need to know — from ingredients, materials, and step-by-step instructions to tips for success and fun variations. So, let’s dive into making these delightful Santa hats that are sure to be the highlight of your holiday table!
What Are Santa Hat Chocolate Cupcakes?
Santa Hat Chocolate Cupcakes are adorable, single-serving desserts that combine rich chocolate cupcakes topped with whipped cream and a cherry to mimic Santa’s iconic hat. They’re a festive twist on traditional cupcakes, making them a hit among kids and adults alike.
What makes these cupcakes special?
- Their eye-catching, themed appearance adds a playful touch to your holiday dessert spread.
- They’re easy to make, requiring simple ingredients and minimal time.
- They can be customized with different toppings or colors for variation.
Now, let’s explore the essential details to make these treats perfect every time.
Materials Needed for Santa Hat Chocolate Cupcakes
Before you start baking, gather all the necessary tools and ingredients. Here’s a handy table to keep everything organized:
| Item / Ingredient | Quantity / Details | Notes |
|---|---|---|
| Cake ingredients: | ||
| All-purpose flour | 1 ¾ cups | |
| Granulated sugar | 2 cups | |
| Unsweetened cocoa powder | ¾ cup | Unsweetened for rich flavor |
| Baking powder | 1 ½ teaspoons | Leavening agent |
| Baking soda | 1 ½ teaspoons | Reacts with cocoa |
| Salt | ½ teaspoon | Enhances flavor |
| Eggs | 2 large | For structure |
| Whole milk | 1 cup | Moisture |
| Vegetable oil | ½ cup | Keeps cupcakes moist |
| Vanilla extract | 2 teaspoons | Adds flavor |
| Boiling water | ½ cup | Helps cocoa dissolve |
| Frosting & toppings: | ||
| Heavy whipping cream | 1 cup | For whipped cream topping |
| Powdered sugar | 2-3 tablespoons | To sweeten whipped cream |
| Maraschino cherries | Whole, for hats | Red color and festive decoration |
| Food coloring (red) | Optional, for the whipped cream topping | For extra color |
| Mini chocolate chips | Optional, for added decoration | To mimic Santa’s face or trim |
| Other tools: | ||
| Cupcake liners | 12-24 | To line your muffin tins |
| Muffin tin | 12-cavity | For baking cupcakes |
| Hand or stand mixer | For whipping cream | Or use a whisk if preferred |
| Piping bags & tips | For decorating | Small star tip works great |
| Toothpick or skewer | For drawing Santa’s face or hat shape | Optional |

The Step-by-Step Process
Now, let’s walk through how to make these adorable Santa hat cupcakes from scratch.
1. Prepare Your Baking Environment
- Preheat your oven to 350°F (175°C).
- Line your muffin tin with cupcake liners.
- Gather your ingredients and tools.
2. Make the Chocolate Cupcake Batter
- In a large bowl, sift together flour, cocoa powder, baking powder, baking soda, and salt.
- In a separate bowl, whisk together eggs, milk, oil, and vanilla.
- Gradually add the wet ingredients into the dry mixture, mixing until smooth.
- Carefully pour boiling water into the batter, stirring constantly. The batter will be thin—that’s normal.
3. Bake the Cupcakes
- Divide the batter evenly among the cupcake liners, filling each about 2/3 full.
- Bake for 18-20 minutes or until a toothpick inserted into the center comes out clean.
- Remove from oven and let cupcakes cool completely on a wire rack.
4. Prepare the Whipped Cream
- Chill your mixing bowl and beaters in the freezer for 10 minutes to achieve better whipping.
- Beat the heavy cream with powdered sugar until stiff peaks form—this usually takes about 3-5 minutes.
- For colored whipped cream, add a few drops of red food coloring and gently fold in.
5. Decorate the Cupcakes
- Once cooled, pipe a mound of whipped cream onto each cupcake to mimic Santa’s fluffy hat.
- Place a maraschino cherry at the peak of the whipped cream for the top of Santa’s hat.
- Optional: Use mini chocolate chips to create Santa’s face or add a white chocolate trim.
6. Final Touches
- For an extra festive touch, add small candy cane pieces or edible glitter.
- Serve immediately or refrigerate if not serving right away.
Tips for Success
- Use chilled cream for whipped cream—it whips faster and holds its shape longer.
- Don’t overmix the whipped cream to avoid turning it into butter.
- Fill cupcake liners evenly for uniform cupcakes.
- Decorate just before serving to keep whipped cream fresh and fluffy.
- Experiment with toppings: crushed peppermint candies, mini marshmallows, or edible glitter add holiday sparkle.
Common Mistakes and How to Avoid Them
| Mistake | Solution |
|---|---|
| Whipped cream too soft or runny | Make sure your cream is cold and don’t overbeat. |
| Cupcakes sinking in the middle | Don’t open the oven door during baking. Use proper oven temperature. |
| Biting into dry cupcakes | Measure ingredients carefully and don’t overbake. Use toothpick test. |
| Over-coloring whipped cream | Add food coloring gradually to avoid overdosing. |
Variations and Creative Twists
Looking to spice things up? Here are some fun ideas:
- Different colored hats: Use green or white frosting to create Elf or snowman hats.
- Adding flavor: Mix peppermint extract into whipped cream for a minty taste.
- Stuffed cupcakes: Add a small chocolate truffle inside before baking for an extra surprise.
- Vegan version: Use plant-based milk and whipped topping.
Festive Summary
And there you have it—your complete guide to making Santa Hat Chocolate Cupcakes, a fun, festive, and delightful holiday treat. With a little effort and creativity, these cupcakes will certainly bring smiles and holiday cheer to your family and friends. Remember, the key to perfect cupcakes lies in patience, attention to detail, and plenty of holiday spirit!
So, gather your ingredients, follow these step-by-step instructions, and get ready to impress your guests with these adorable Santa hats. Happy baking, and Merry Christmas!
If you love this recipe, don’t forget to share your creations and experiments in the comments below. I can’t wait to see your festive masterpieces!