Ever wondered how to create that crisp, sweet, and gorgeously snowy treat that lights up your holiday table? If so, you’re in the right place! Making a perfect Christmas meringue is easier than you think when you follow the right steps. Whether you’re aiming to serve as a centerpiece or an elegant sweet treat, this comprehensive guide will walk you through everything you need to craft fluffy, glossy, and delightful meringues that will wow your family and friends this holiday season.
What is a Christmas Meringue?
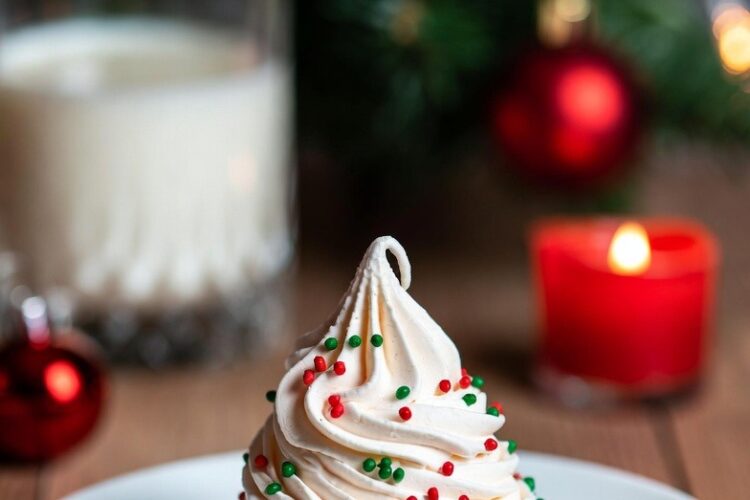
A meringue is a sweet treat made primarily from whipped egg whites and sugar. It’s light, airy, and crisp, often used in pies, cookies, or as decorative toppers. During Christmas, meringues get a festive upgrade with flavors, colors, and shapes, transforming them into holiday magic.
Key Aspects of a Good Meringue
- Crisp exterior with a slightly chewy interior
- Sweetness balanced with tart flavors or decorations
- Stable structure that retains shape
Materials Needed: Everything to Create the Perfect Meringue
Here’s a detailed list of what you need to make those stunning Christmas meringues. Using quality ingredients will make all the difference.
| Material | Quantity / Notes | Purpose |
|---|---|---|
| Egg Whites | 4 large eggs | Base for meringue, provides volume |
| Granulated Sugar | 1 cup (200g) | Sweetening and stabilizing the egg whites |
| Cream of Tartar | ¼ teaspoon | Stabilizes the egg whites for better stiff peaks |
| Vanilla Extract | 1 teaspoon | Adds flavor, optional but recommended |
| Food Coloring | Red, Green, Gold, or any festive colors | To make them look festive |
| Cornstarch | 1 teaspoon (optional) | Ensures crispiness and prevents weeping |
| Lemon Juice or Vinegar | A few drops (optional) | Helps stabilize egg whites and brighten their color |

Pro Tip: Always use fresh eggs – older eggs don’t whip as well. Also, room temperature egg whites whip more easily and result in more volume.
How to Make Christmas Meringue: Step-by-Step Guide
Let’s break it down into simple, manageable steps so you get picture-perfect meringues every time.
Step 1: Prepare Your Workspace
- Wash your mixing bowls and beaters thoroughly, avoiding grease or residue.
- Line your baking sheet with parchment paper or a silicone mat.
Step 2: Beat Egg Whites
- Separate the eggs carefully, ensuring no yolk contaminates the whites.
- Place the egg whites in a clean, dry bowl.
- Begin beating on medium speed until frothy.
Step 3: Add Stabilizers and Flavors
- Add cream of tartar and a few drops of lemon juice or vinegar.
- Continue beating until soft peaks form.
Step 4: Incorporate Sugar Gradually
- Slowly add sugar, about one tablespoon at a time.
- Beat on high speed for about 5-7 minutes, or until stiff, glossy peaks form.
- The mixture should hold firm peaks and be shiny.
Step 5: Add Food Coloring
- Gently fold in your chosen food coloring.
- For layered or multi-colored meringues, divide your mixture before coloring.
Step 6: Pipe or Shape
- Load the mixture into a piping bag fitted with a star or round tip.
- Pipe into desired shapes—swirls, stars, or little nests.
- For a more casual look, spoon dollops onto your prepared baking sheet.
Step 7: Bake
- Preheat the oven to 200°F (90°C).
- Bake for 1.5 to 2 hours or until meringues are crisp and easily lift off the parchment.
- Turn off the oven, leave the door slightly ajar, and let the meringues dry out as they cool for at least 1 hour.
Tips for Success
- Use clean tools and equipment: Any grease can prevent egg whites from whipping properly.
- Ensure eggs are at room temperature: Better volume and stability.
- Add sugar gradually: This ensures a glossy, stable meringue.
- Be patient with baking time: Low and slow is key for crisp, stable meringues.
- Avoid humidity: Meringues are sensitive to moisture; bake in a dry environment.
Common Mistakes and How to Avoid Them
| Mistake | Why It Happens | How to Fix It |
|---|---|---|
| Overbeating the egg whites | Turns the mixture dry and grainy | Stop when peaks are glossy and stiff |
| Using yolk in whites | Prevents proper whipping | Separate carefully, no yolk contamination |
| Baking at high temperatures | Causes browning or collapsing | Keep oven at 200°F (90°C) and bake slowly |
| Adding sugar too quickly | Harms the structure | Incorporate evenly and gradually |
| Humid weather | Makes meringues sticky or soft | Bake in dry conditions, store in airtight containers |
Variations and Creative Twists
Want to elevate your Christmas meringues? Here are some festive variations:
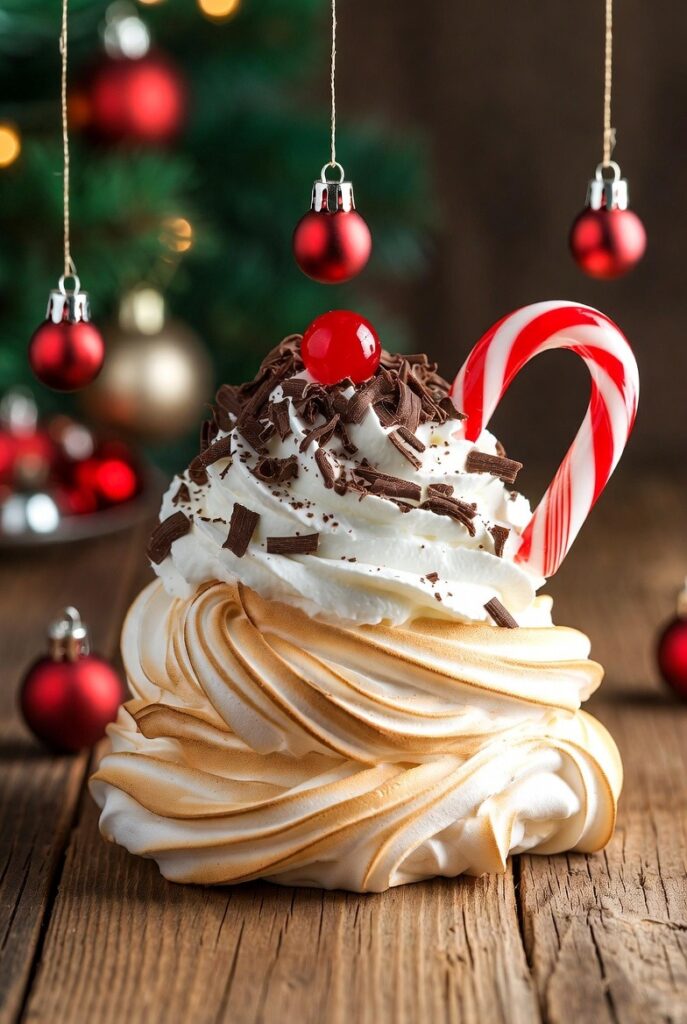
- Chocolate Meringues: Add 2-3 tablespoons of cocoa powder before whipping.
- Lemon or Citrus Flavored: Mix in lemon or orange zest into the egg whites.
- Spiced Meringues: Add cinnamon, nutmeg, or ginger for warmth.
- Decorative Toppers: Use piping to create snowflakes, stars, or reindeer shapes.
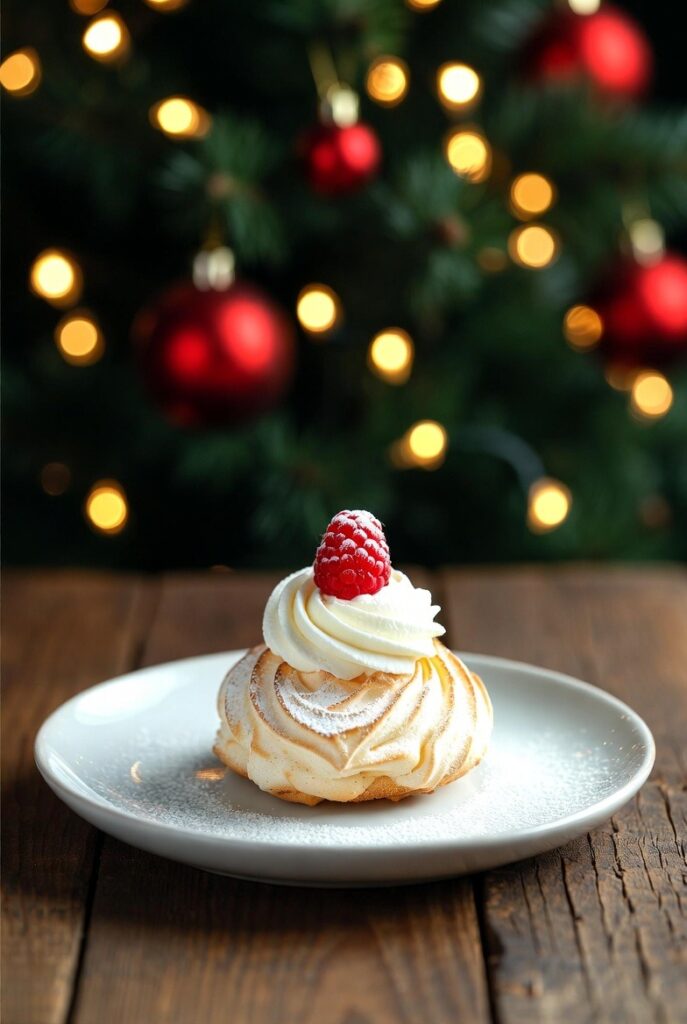
- Filled Meringues: Sandwich two meringue shells with whipped cream or fruit preserves.
Summary & Final Tips
Crafting the perfect Christmas meringue is all about patience, precision, and a touch of creativity. The key is in whipping the egg whites into stiff, glossy peaks and baking them at a low temperature to ensure crispiness and stability. Remember, using fresh, room temperature eggs, adding sugar gradually, and baking slowly are your best friends in this process.
Don’t be afraid to experiment with colors and shapes—your creativity will shine through just as brightly as these festive treats. Make sure to store your finished meringues in an airtight container in a dry place to keep their crunch until served.
So, what are you waiting for? Whip up a batch of these beautiful Christmas meringues and add that sweet, snowy touch to your holiday celebration! Enjoy baking, and happy holidays!
Keyword: Christmas meringue recipe. If you follow these tips and steps, you’re guaranteed to impress everyone with your fluffy, festive treats. Happy baking!