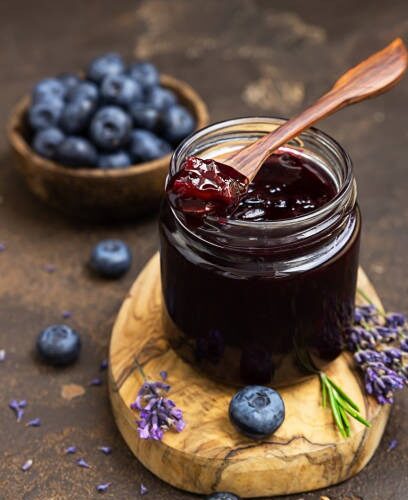
Hey friends! Are you wild about blueberries? Do you love the idea of transforming those luscious berries into a sweet, sticky spread for your toast or scones? Well, you’re in luck! Today, I’m going to walk you through a comprehensive, easy-to-follow recipe for making your very own blueberry jam at home. Not only will you learn the simple steps involved, but I’ll also share tips, common mistakes to avoid, and fun variations to experiment with. So grab your blueberries, and let’s get jammin’!
Why Make Your Own Blueberry Jam?
Making homemade blueberry jam isn’t just about saving money or avoiding preservatives – although those are great perks. It’s about creating a fresh, vibrant spread that captures the real flavor of blueberries in every jar. Plus, homemade jam makes a thoughtful gift and preserves the peak of seasonal berries.
What Exactly Is Blueberry Jam?
Before diving into the recipe, let’s clarify what blueberry jam is.
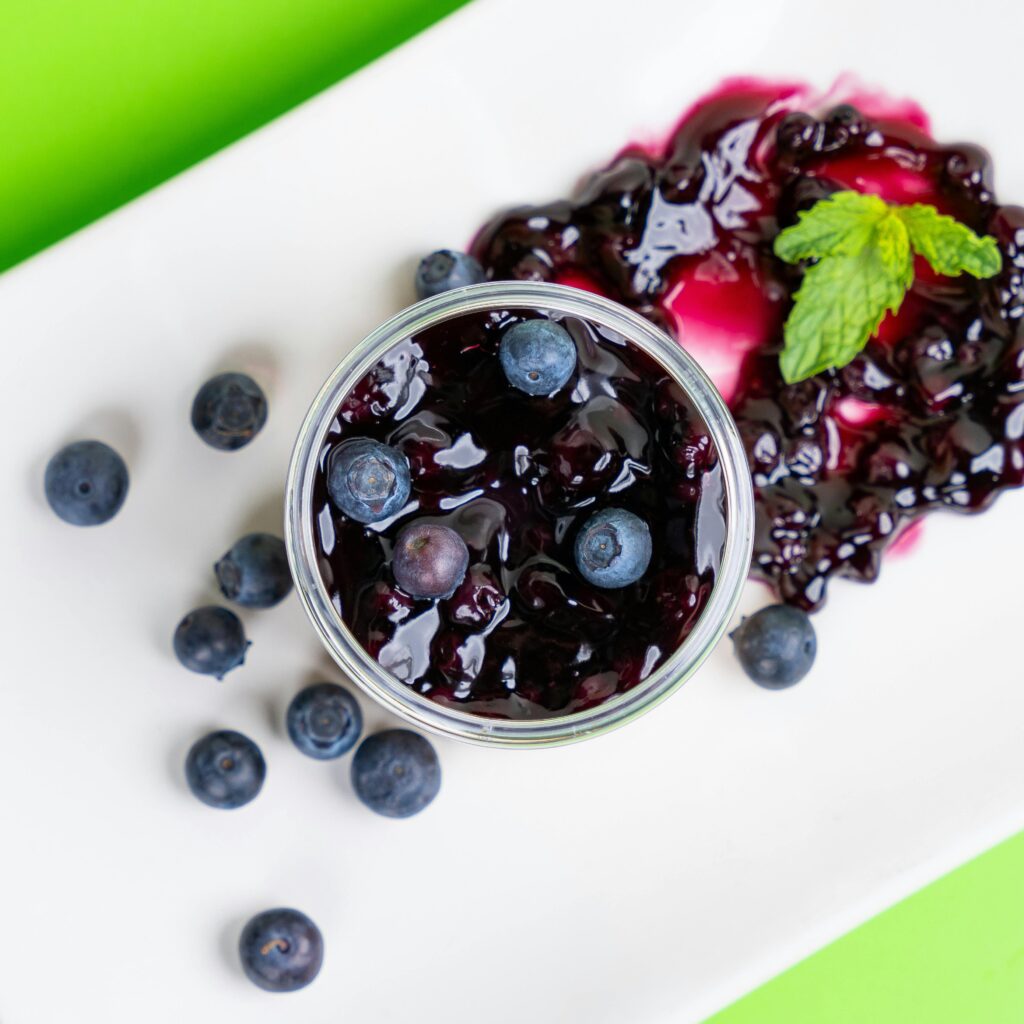
Blueberry jam is a sweet spread made from blueberries, sugar, and pectin (a natural thickening agent). It’s cooked until thickened and then jarred for storage. The result? A glossy, flavorful jam that’s perfect on bread, pancakes, or as a topping for desserts.
Key terms:
| Term | Definition |
|---|---|
| Pectin | A natural fiber found in fruit that helps jams set. Commercial pectin can be added for consistency. |
| Gel Point | The stage when the jam reaches the desired thickness, enough to coat a spoon without running. |
| Boiling Point | Around 212°F (100°C) at sea level—necessary for proper jelling. |
Materials Needed (With Data-Driven Details)
To make your blueberry jam a success, here’s what you’ll need:
| Item | Quantity | Notes |
|---|---|---|
| Fresh blueberries | 4 cups (about 600g) | Choose ripe, firm berries for best flavor |
| Granulated sugar | 3 1/2 cups (700g) | Adjust based on sweetness preference |
| Pectin (Sure-Jell or equivalent) | 1 packet (1.75 oz / 50g) | Optional, for thickening if not using natural pectin |
| Lemon juice | 1/4 cup (60ml) | Adds acidity, helps setting and flavor |
| Water | 1/2 cup (120ml) | For cooking berries |
Tip: If berries are frozen, thaw them thoroughly before cooking.
Step-by-Step: How to Make Blueberry Jam
1. Preparing the Berries
Start by washing and hulking the blueberries. If you prefer a seedless jam, you can pass the berries through a sieve, but traditionally, seeds also add texture.
2. Cooking the Berries
- Place your blueberries in a large, heavy-bottomed saucepan.
- Add water and lemon juice.
- Cook over medium heat, stirring gently, until the berries start to break down—about 10 minutes.
- Use a potato masher or fork to mash the berries if you prefer a smoother jam.
3. Adding Sugar and Pectin
- Stir in the sugar gradually, mixing well.
- Bring the mixture to a boil over high heat.
- Once boiling, quickly stir in the pectin for proper setting.
- Continue boiling, stirring constantly, for 1-2 minutes.
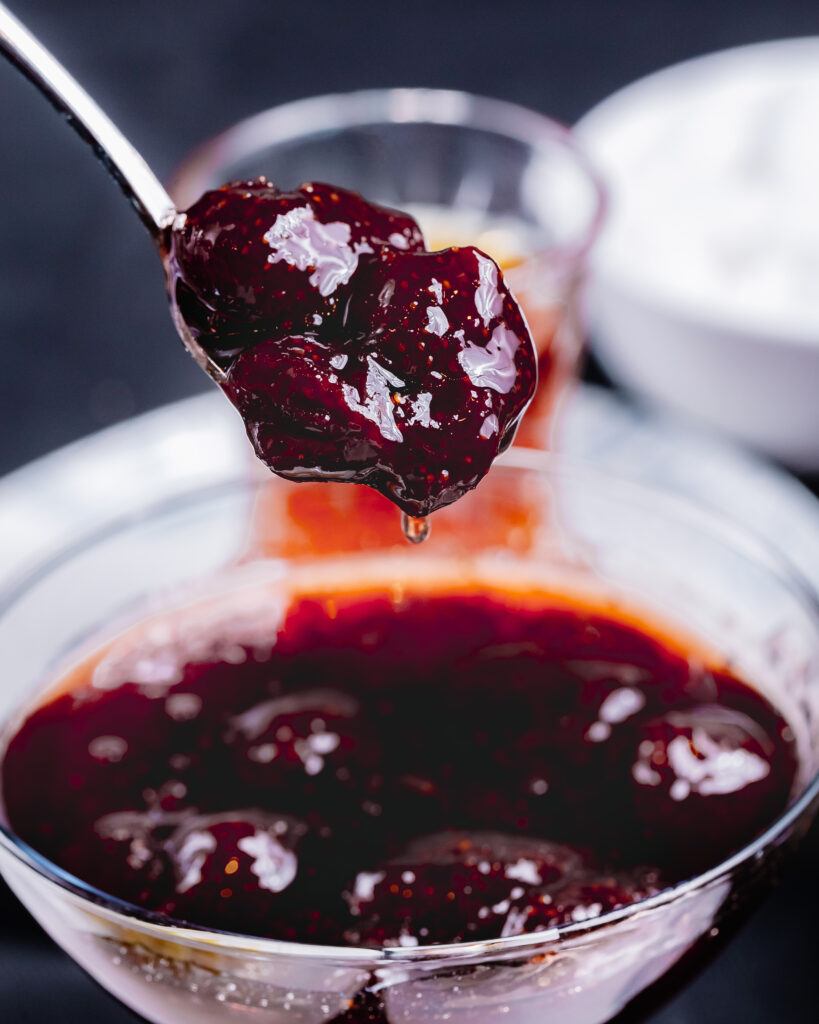
4. Testing for the Gel Point
- Drop a small amount of hot jam onto a chilled plate.
- Let it sit for a minute, then run your finger through it.
- If it wrinkles and holds its shape, it’s ready.
- If not, boil for another minute and test again.
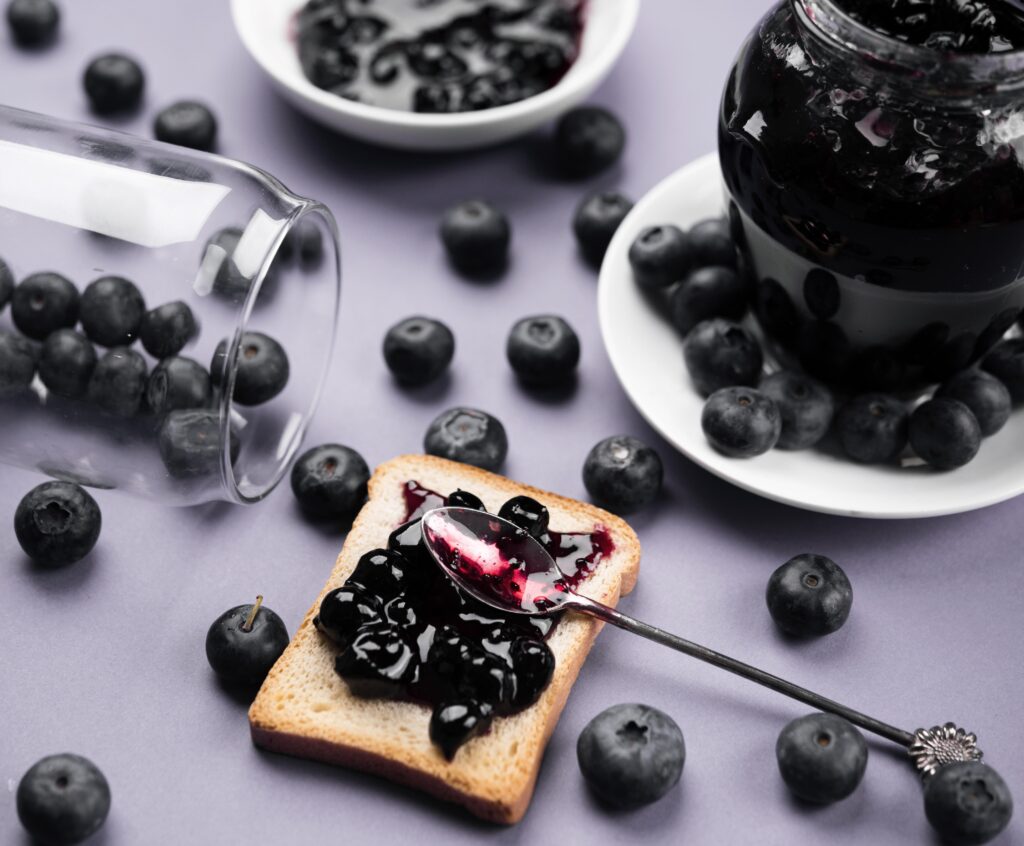
5. Jar Filling and Sealing
- Pour the hot jam into sterilized jars, leaving about 1/4 inch headspace.
- Wipe rims clean, then seal with sterilized lids.
- Process jars in a boiling water bath for 10 minutes to ensure vacuum sealing.
6. Cooling and Storage
- Let jars cool naturally.
- Check seals—lid should be concave.
- Store in a cool, dark place. Refrigerate after opening.
Tips for Success
- Fruit Quality: Use ripe, fresh blueberries—they dictate the flavor of your jam.
- Accurate Measurements: Follow the sugar and pectin ratios closely for perfect jelling.
- Sterilize Jars: Boil jars and lids beforehand to prevent spoilage.
- Cooking Temperature: Use a candy thermometer or observe the gel point to avoid under- or over-cooking.
- Adjust Sugar: Reduce sugar if you prefer a less sweet spread, but be mindful that it may affect gelling.
Common Mistakes and How to Avoid Them
| Mistake | How to Prevent It |
|---|---|
| Not sterilizing jars | Boil jars and lids before filling |
| Using underripe berries | Use ripe berries for robust flavor and proper setting |
| Too little pectin | Follow recipe quantities; add more pectin if needed |
| Overcooking jam | Remove from heat at the right gel point to prevent a rubbery texture |
| Not processing jars | Use water bath canning to ensure shelf stability |
Variations to Add Your Personal Touch
Feeling adventurous? Here are some ideas to customize your blueberry jam:
- Lemon zest or orange zest for a citrus twist.
- Vanilla extract a splash for aromatic richness.
- Mixed berries — combine blueberries with strawberries or blackberries.
- Spices — add cinnamon or ginger for warmth.
- Sweetener Alternatives — honey or maple syrup for a richer flavor.
Summary: Your Next Steps
Making blueberry jam at home is an enjoyable process that yields a delicious, natural spread full of flavor. Remember to select quality berries, measure ingredients carefully, and follow the essential steps for setting and sterilization. With a little patience and some practice, you’ll be savoring your own jars of homemade blueberry jam in no time!
So next time you see ripe blueberries at the market, grab a few extra and start your jam-making adventure. Trust me, your taste buds will thank you!
Final Thought
Enjoy experimenting with this classic recipe, and don’t be afraid to put your own spin on it. Homemade blueberry jam isn’t just a delicious treat — it’s a delightful way to preserve the fleeting beauty of summer berries for months to come. Happy jam-making!