Ever wonder how to create those charming, bite-sized cookies that look like tiny works of art? If you’re nodding yes, then you’ve just found your new holiday baking buddy—Christmas thumbprint cookies! These buttery treats are a staple on holiday cookie trays and bring a perfect mix of sweetness, crunch, and colorful jam-filled centers. Today, I’ll walk you through everything you need to know to make these cookies not only delicious but also picture-perfect. Whether you’re an experienced baker or a beginner, this comprehensive guide will help you craft Christmas thumbprint cookies that impress everyone around your holiday table.
What Are Christmas Thumbprint Cookies?
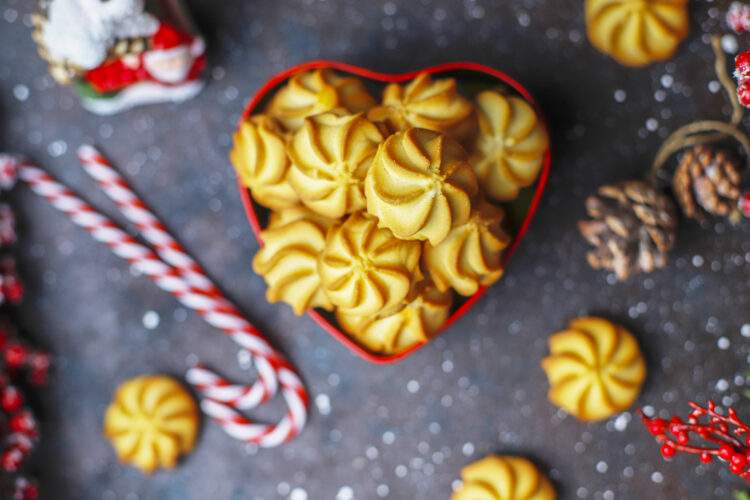
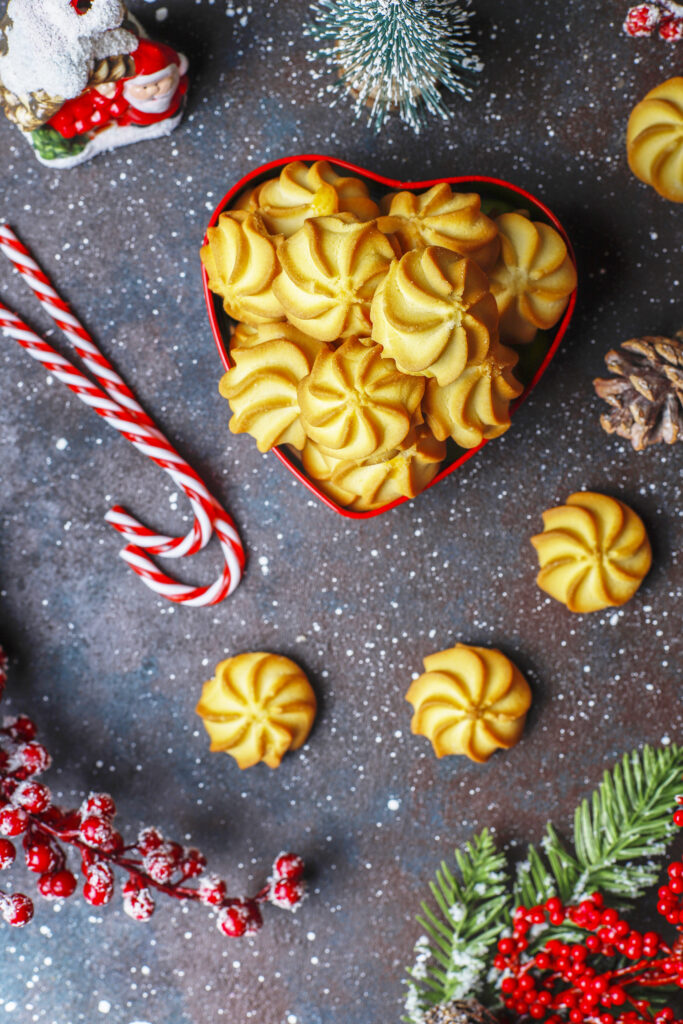
Christmas thumbprint cookies are small, soft, buttery cookies with a shallow indentation in the center, filled with jam, chocolate, or other sweet fillings. They’re called “thumbprint” because traditionally, you press your thumb into the dough’s center to create the well. These cookies are adored for their festive charm, customizable fillings, and deliciously buttery flavor.
Key features of thumbprint cookies:
- Soft and buttery base: Melts in your mouth and provides a perfect vehicle for fillings.
- Decorative indentations: Created with a thumb or a tool to hold filling.
- Versatile fillings: Jam, chocolate, lemon curd, or caramel.
- Festive presentation: Perfect for holiday gift boxes and cookie exchanges.
Material Needed for Perfect Christmas Thumbprint Cookies
Having the right ingredients and tools makes a world of difference. Here’s a detailed table to help you gather everything before you start baking:
| Ingredient/Tool | Quantity / Specifications | Purpose |
|---|---|---|
| Unsalted Butter | 1 cup (227g), softened | Provides richness and tenderness |
| Granulated Sugar | 1/2 cup (100g) | Adds sweetness and helps achieve proper texture |
| Egg | 1 large | Binds ingredients together |
| Vanilla Extract | 1 teaspoon | Adds flavor |
| All-Purpose Flour | 2 1/4 cups (280g) | Base structure of the cookie |
| Salt | 1/4 teaspoon | Enhances flavor |
| Jam or Preserves | 1/2 cup (e.g., raspberry, strawberry, apricot) | Filling with vibrant color and flavor |
| Optional: Chocolate Chips | 1/2 cup (for variety) | Alternative filling or mix-in |
| Baking Sheet | 1 large, preferably non-stick or lined with parchment paper | Baking surface |
| Thumbprint Tool / Fingernail / Wooden Spoon | As needed | To create indentations |
| Cooling Rack | 1 | To cool cookies without sogginess |
Baking Tips for Success Before You Begin
- Use room-temperature butter: This helps the dough come together smoothly and ensures a tender texture.
- Don’t overmix: Overworking the dough can make cookies tough. Mix just until ingredients are combined.
- Chill the dough: Refrigerate for at least 30 minutes to prevent spreading during baking and to make handling easier.
- Choose the right jam: Opt for jam with a thicker consistency to prevent leakage during baking.
- Use quality ingredients: Since these cookies are simple, ingredients directly influence flavor and texture.
Step-by-Step Guide to Making Christmas Thumbprint Cookies

Follow these detailed steps to craft cookies that look and taste amazing:
Step 1: Prepare the Dough
- In a large mixing bowl, beat the softened butter and sugar using an electric mixer on medium speed until creamy (about 2-3 minutes).
- Add the egg and vanilla extract; beat until well combined.
- Gradually add the flour and salt, mixing on low speed until the dough just comes together. Do not overmix.
Step 2: Chill the Dough
- Shape the dough into a disc, wrap tightly in plastic wrap.
- Refrigerate for at least 30 minutes. Chilled dough is easier to handle and results in better cookie shape.
Step 3: Form the Cookies
- Preheat your oven to 350°F (175°C).
- Remove the dough from the fridge and scoop about 1 tablespoon for each cookie.
- Roll into balls and place on your prepared baking sheet, spacing about 2 inches apart.
- Use your thumb, a small round spoon, or a thumbprint tool to gently make an indentation in the center of each ball.
Step 4: Fill the Indentations
- Spoon about 1/2 teaspoon of jam into each well. Be careful not to overfill; the jam should sit comfortably without overflowing.
Step 5: Bake to Perfection
- Bake for 12–15 minutes, or until the edges are lightly golden.
- Keep an eye on the cookies to prevent burning.
Step 6: Cool and Decorate
- Allow cookies to cool on the baking sheet for 5 minutes.
- Transfer to a cooling rack and let cool completely before serving.
- Optional: drizzle melted chocolate on top for a more decadent look.
Tips for Success
- Use a teaspoon for filling: To keep the filling consistent.
- Avoid overfilling: To prevent spillovers during baking.
- Chill cookie dough before baking: Ensures cookies hold their shape and don’t spread.
- Get creative with fillings: Mix and match jams, chocolates, or curds.
- Decorate festively: Add sprinkles, edible glitter, or powdered sugar after baking.
Common Mistakes and How to Avoid Them
| Mistake | How to Prevent It | Explanation |
|---|---|---|
| Overfilling the wells | Use minimal filling | Excess filling spills over during baking, making cookies messy. |
| Not chilling the dough | Chill for at least 30 minutes | Warm dough spreads too much, losing shape. |
| Using runny jam | Use jam with thick consistency | Thin jam leaks and burns during baking. |
| Overmixing the dough | Mix just until ingredients combine | Tough or dense cookies result from overmixing. |
| Baking at too high a temperature | Stick to 350°F (175°C) | Over-baking makes cookies dry and hard. |
Variations to Spark Your Creativity
Want to tweak the classic? Here are some fun variations:
- Chocolate-Hazelnut Thumbprints: Fill with Nutella or similar spread; sprinkle chopped hazelnuts on top.
- Lemon Curd Delight: Use lemon curd instead of jam for a tangy twist.
- Candy Cane Touch: Add crushed peppermint candies to the dough or sprinkle on top before baking.
- Nutty Bliss: Incorporate finely chopped nuts (almonds, pecans) into the dough or as a topping.
- Vegan Version: Substitute dairy butter with coconut oil, and use vegan jam.
Wrapping it Up: Make Your Holiday Sparkle with Homemade Thumbprint Cookies
And there you have it! With a little patience and these detailed steps, you can create stunning, festive Christmas thumbprint cookies that will dazzle your friends and family. Remember, the secret ingredients are quality ingredients, patience, and a touch of creativity. These cookies not only taste delicious but also add a heartfelt homemade touch to your holiday celebrations.
So go ahead—bake, fill, and decorate to your heart’s content. Your holiday table will thank you, and those little cookies will undoubtedly become a new family favorite for years to come. Happy baking and merry Christmas!
Now, it’s your turn! Gather your ingredients, follow these tips, and create memorable holiday treats that will bring joy and sweetness to everyone this season.