Hey friends! With the festive season approaching, there’s nothing quite like baking something adorable, sweet, and festive to bring everyone together. And today, I’m excited to share a fun and festive recipe—Christmas tree cake pops. They’re perfect for holiday parties, gift exchanges, or just a cozy night in. But I know what you’re thinking: “How do I get those tiny, perfectly shaped Christmas trees?” Don’t worry—I’ve got you covered with this detailed, beginner-friendly guide. Let’s dive in and create something both beautiful and delicious!
What Are Christmas Tree Cake Pops?
Before jumping into the how-to, let’s clarify what these delightful treats are.
Definition of Cake Pops:
- Cake pops are bite-sized pieces of cake coated in sweet candy or chocolate coating, mounted on a stick, resembling a lollipop.
- They are customizable—shaped, decorated, and flavored in countless ways.
Why Christmas Tree Shape?
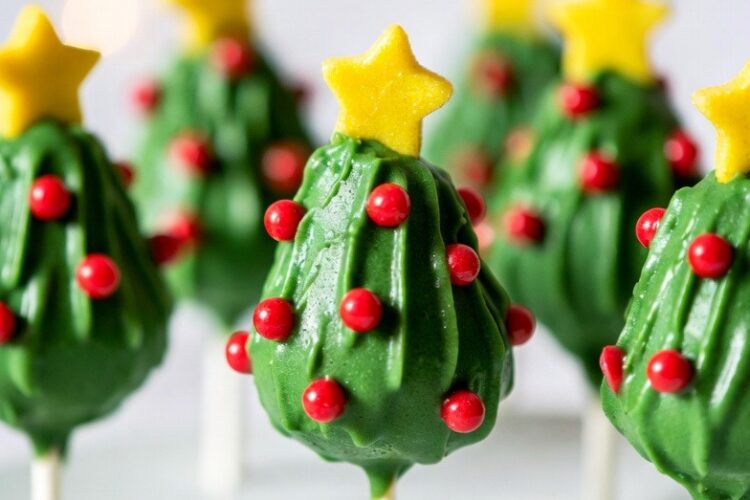
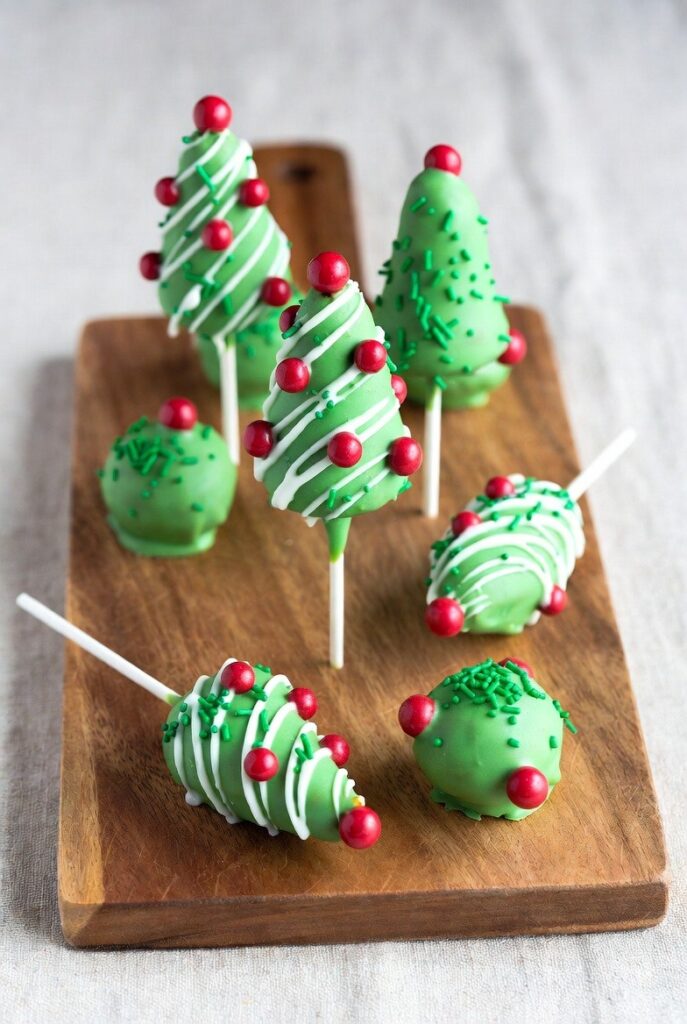
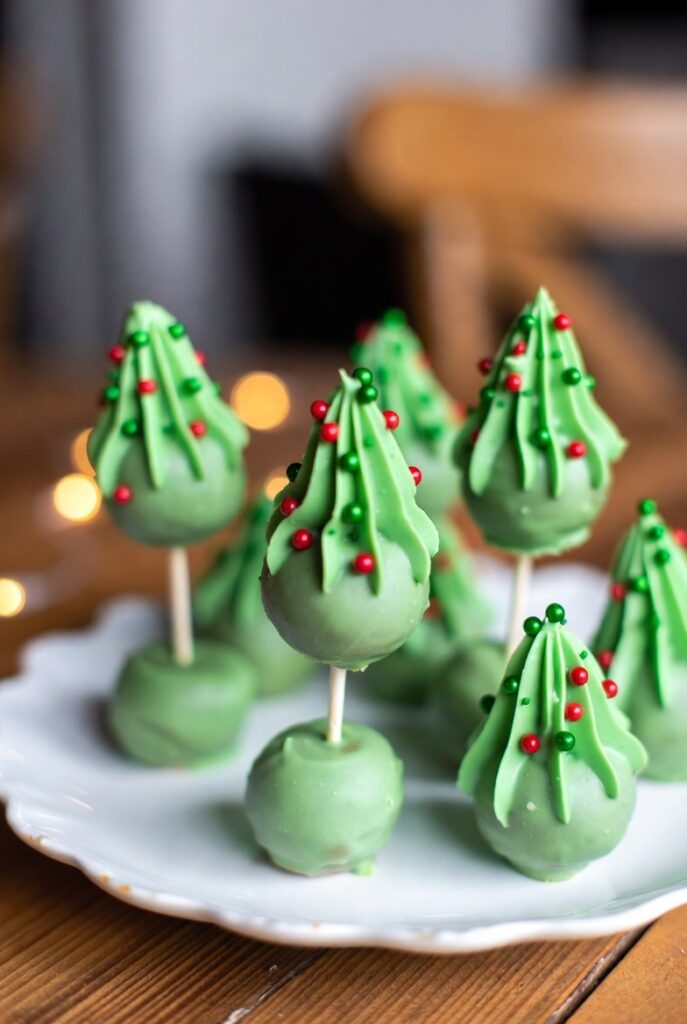
- They’re shaped like tiny Christmas trees—pictorial symbols of holiday cheer.
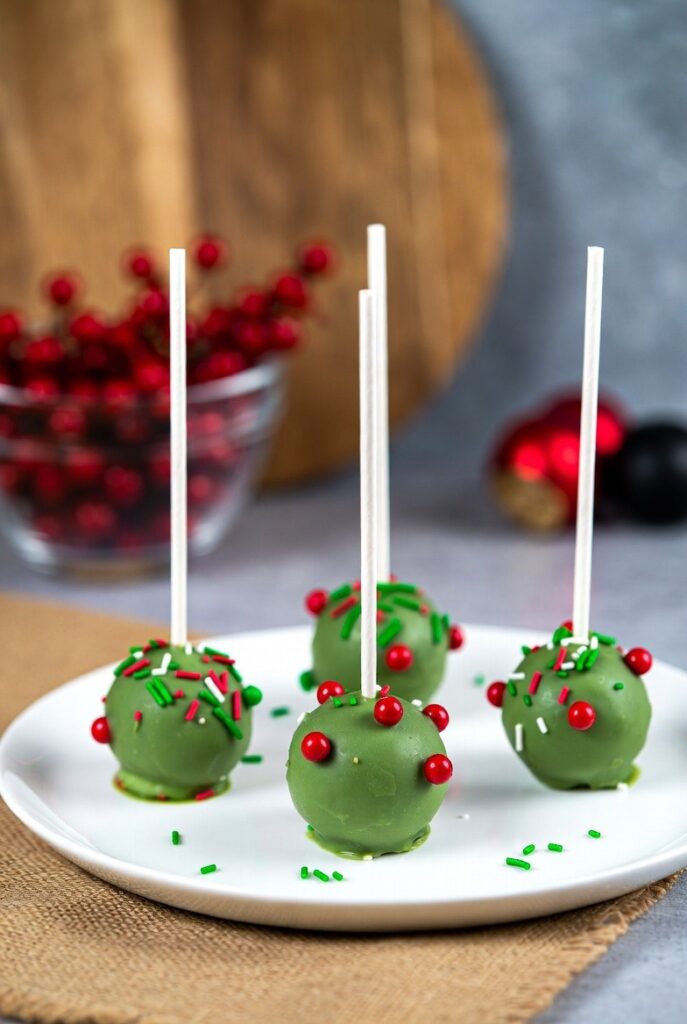
- Decorated with green icing, sprinkles, and star toppers—they’re the holiday centerpiece for any dessert table.
Materials Needed for Christmas Tree Cake Pops
Having the right ingredients and tools makes all the difference.
| Item | Quantity/Description | Notes |
|---|---|---|
| Cake | 1 batch (store-bought or homemade) | Vanilla or chocolate recommended |
| Buttercream frosting | 1 cup | For crumbling and binding the cake |
| Candy melts or chocolate | 300 grams (approx. 10 oz) | Green for the trees, other colors optional |
| Cake pop sticks | About 12-15 sticks | Wooden or paper-straw sticks |
| Green food coloring | As needed | To tint frosting and coating |
| Sprinkles and edible decorations | Various holiday-themed shapes, stars, snowflakes | For decorating the trees |
| Edible glitter | Optional | Adds sparkle for a magical touch |
| Star-shaped toppers | Small edible or plastic toppers | To mimic the star at the top of the tree |
| Parchment paper or silicone mat | 1 sheet | For setting the dipped cake pops |
| Styrofoam block or cake pop stand | 1 | For holding the cake pops upright to set |
Note: Always choose high-quality ingredients for the best taste and appearance.
Tips for Success
- Use cooled, crumbed cake for easy mixing.
- Chill cake mixture for 30 minutes before shaping to avoid sticky hands.
- Use a small, round cookie cutter or a piping tip to form the cone-shape for the trees.
- When coating, gently tap off excess candy melt to prevent drips.
- Decorate while coating is still slightly tacky for better adhesion.
Step-by-Step Guide to Creating Christmas Tree Cake Pops
1. Prepare Your Cake Base
- Start by baking your favorite cake and letting it cool completely.
- Crumble the cooled cake into fine crumbs using clean hands or a food processor.
- Mix in ½ cup of buttercream or enough to create a dough-like consistency that holds shape when rolled.
2. Shape the Cake
- Take small amounts of the mixture and roll into cone-shaped trees, about 2-3 inches tall.
- Use your hands or a small cone mold for uniform shapes.
- Place the shaped cakes on a baking sheet lined with parchment paper.
3. Chill the Shaped Cake Pops
- Refrigerate the shaped cake cones for about 30 minutes. This makes them firmer and easier to coat.
4. Melt Candy Melts
- Melt green candy melts in a microwave-safe bowl in 30-second bursts, stirring until smooth.
- Add a few drops of green food coloring if needed to enhance the hue.
5. Dip and Coat
- Dip the end of a cake pop stick into the melted candy, then insert into the base of each cone (this helps secure the stick).
- Immediately dip each cake cone into the melted candy, ensuring full coverage.
- Gently tap off excess coating and place on parchment paper.
6. Decorate the Trees
- While the coating is still wet, decorate each cake pop:
- Add sprinkles or edible glitter for snow or ornaments.
- Place small star toppers at the top—either edible or plastic (safe for food contact).
- Use piping gel or additional melted chocolate to create garlands or decorations.
7. Let Set
- Allow the cake pops to dry and set completely at room temperature or in the refrigerator, about 30 minutes.
8. Final Touches
- For extra sparkle, dust with edible glitter.
- Insert a decorative star topper or piped star at the top to complete the Christmas tree look.
Common Mistakes and How to Avoid Them
| Mistake | Solution |
|---|---|
| Cake mixture being too sticky | Chill the mixture before shaping; dust with powdered sugar if necessary. |
| Coffee or water in melted candy melts | Use dry, clean utensils and avoid moisture to prevent clumping. |
| Not chilling the shaped cones enough | Chill shape before dipping; prevents breakage and ensures clean coating. |
| Overloading with decoration | Use sparingly to prevent the cake pops from falling apart. |
| Ignoring drying time | Patience is key—let the coating firm up fully for the best finish. |
Variations and Creative Twists
Looking to mix things up? Here are a few ideas:
- Color Themes: Use red, gold, or silver candy melts for a more festive or elegant look.
- Different Tree Shapes: Try a more realistic pine or classic triangle shape using cookie cutters.
- Flavor Variations: Incorporate peppermint, vanilla, or chocolate-flavored cake and frosting.
- Decorative Accents: Use tiny edible beads, snowflakes, or miniature ornaments.
- Vegan/Gluten-Free Options: Use vegan cake and dairy-free melts.
In Summary
Making Christmas tree cake pops is a delightful way to add a homemade touch to your holiday festivities. From baking to decorating, each step offers a chance to get creative and make something uniquely festive. Remember to prep your materials, take your time with shaping, and allow enough drying time for a glossy, professional-looking finish.
So, gather your ingredients, embrace the holiday spirit, and start creating your own batch of adorable Christmas tree cake pops. They’re sure to delight your family and friends—and most importantly, make your season a little sweeter!
Hope this guide helps you craft perfect, adorable Christmas tree cake pops this holiday season! Happy baking!