Ever wondered how to create those perfect, fun, and festive Grinch-themed cookies? Today, I’ll walk you through everything you need to craft your own batch of eye-catching Grinch cookies—whether you’re baking for a holiday party, a Christmas gift, or just to bring some cheer to your family. These cookies aren’t just tasty—they’re also a fantastic way to showcase your decorating skills and spread holiday joy. So, let’s dive into the delightful world of Grinch cookies with step-by-step instructions, tips, and tricks to ensure your decorating is spot-on!
What Are Grinch Cookies and Why Are They Popular?
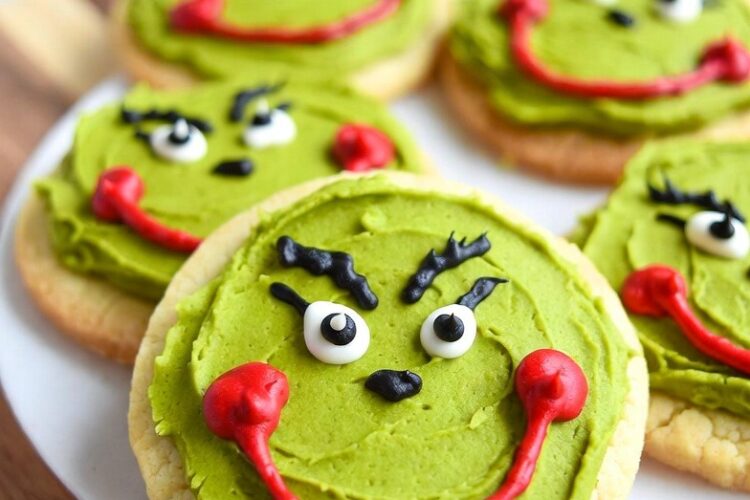
Grinch cookies are typically sugar cookies decorated to resemble everyone’s favorite green meanie, the Grinch. Using simple ingredients and creative icing, bakers turn ordinary cookies into character-packed treats that capture the spirit of Dr. Seuss’s beloved story. These cookies have gained popularity because they’re adorable, customizable, and perfect for holiday festivities.
Why Choose Grinch Cookies?
- Festive & Fun: They add a playful touch to any holiday table or cookie platter.
- Customizable: You can modify their expressions and accessories to make each cookie unique.
- Shareable: Easy to make in large batches, ideal for family, friends, or party favors.
- Engaging Activity: Fun for kids and adults alike; a wonderful holiday baking project.
Materials Needed for Grinch Cookies & Decorations
Here’s a detailed table to help you gather everything beforehand.
| Item | Details | Quantity/Size |
|---|---|---|
| All-purpose flour | For cookie dough | 2 ¾ cups |
| Baking powder | To help cookies rise | 1 teaspoon |
| Unsalted butter | Softened | 1 cup (2 sticks) |
| Granulated sugar | Sweetener | 1 cup |
| Large egg | Binding agent | 1 large |
| Pure vanilla extract | For flavor | 1 teaspoon |
| Salt | Enhances flavor | ½ teaspoon |
| Green food coloring | To achieve Grinch green | As needed (gel or liquid) |
| Powdered sugar | For icing | 2 cups |
| Unsalted butter | For icing | ½ cup |
| Milk | To thin icing | 2-4 tablespoons |
| Cream cheese | Optional, for icing | 4 oz |
| Red & black gel food colors | For details | Small bottles |
| Piping bags & tips | For decorating | Variety of sizes (fine tips recommended) |
| Edible markers | For facial features | Optional, but fun! |

Step-by-Step Guide to Making the Perfect Grinch Cookies
1. Preparing the Cookie Dough
The first step is the base—delicious sugar cookies that hold up well when decorated.
- Combine dry ingredients: Mix flour, baking powder, and salt.
- Cream butter & sugar: Beat softened butter and sugar together until fluffy.
- Add egg & vanilla: Incorporate egg and vanilla into the creamed mixture.
- Add food coloring: Mix in green food gel until you reach vibrant Grinch green.
- Combine dry & wet ingredients: Gradually add dry ingredients to the wet mixture, mixing until dough forms.
- Chill the dough: Shape into disks, wrap in plastic wrap, and refrigerate for at least 1 hour.
2. Baking the Cookies
- Preheat oven: To 350°F (175°C).
- Roll out dough: On a floured surface to about ¼-inch thickness.
- Cut out cookies: Use a round cookie cutter or Grinch-themed shapes if available.
- Bake: On parchment-lined baking sheets for 8–10 minutes, or until edges are lightly golden.
- Cool: Let cookies cool completely before decorating.
3. Preparing the Decorative Icing
A smooth, vibrant icing is key to bringing your Grinch cookies to life.
- Make Royal Icing: Combine powdered sugar, butter, and milk. Adjust consistency—thicker for outlines, thinner for flooding.
| Purpose | Consistency | Use Case |
|---|---|---|
| Outlining & Details | Thick | To draw fine lines and facial features |
| Flooding | Thin | To fill in large areas smoothly |
- Color your icing: Use gel food colors to tint sections—green for the faces, red for hearts or accessories, black for eyes, etc.
4. Decorating Your Cookies
Now, the fun part begins!
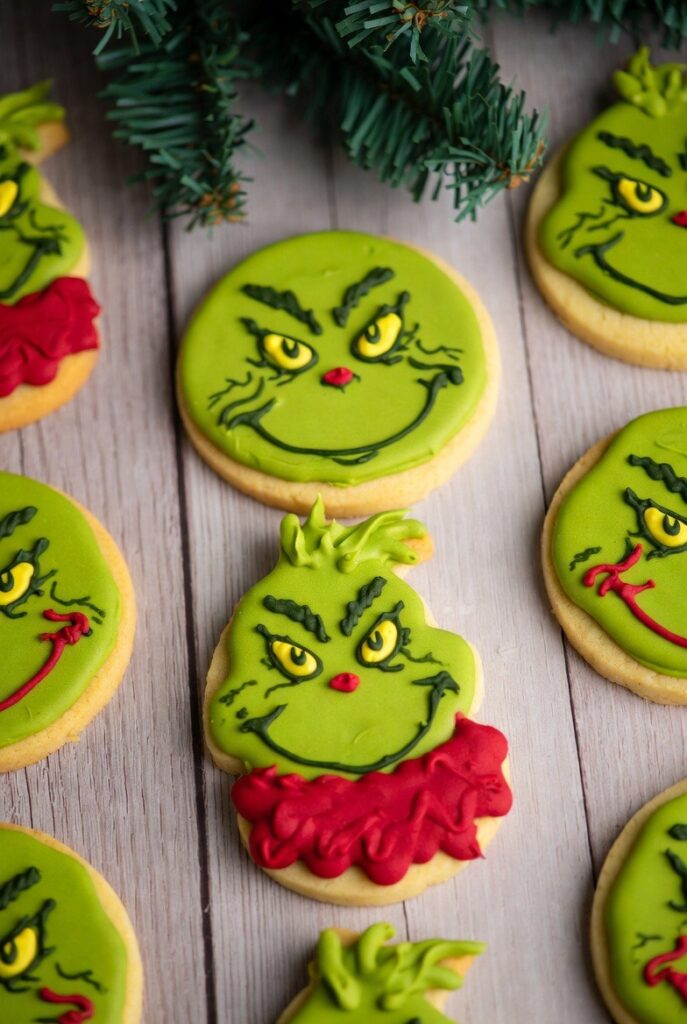
- Outline: Use a piping bag fitted with a small round tip to draw the outline of the Grinch face or other features.
- Flood: Fill in the outlined areas with thinner icing using a piping bag or squeeze bottle.
- Details: Once the flood icing dries (about 2 hours), add facial features, pupils, and expressions using fine tips.
- Create facial expressions: Use contrasting colors for playful or mischievous faces—big smile, mischievous eyes, or grumpy scowls.
- Optional: Use edible markers to add tiny details like eyebrows or freckles.
5. Final Touches & Drying
- Allow decorated cookies to dry completely, preferably overnight, to prevent smudging.
- Store in airtight containers at room temperature or in the fridge if decorated with perishable items.
Tips for Success
- Use Gel Food Coloring: These provide vibrant colors without thinning your icing.
- Chill Your Dough: It makes rolling and cutting easier and prevents spreading.
- Practice Piping: Practice your designs on parchment before decorating the cookies.
- Use Quality Piping Tips: Fine tips give more control for facial features.
- Work in Cool, Dry Conditions: Humidity can cause icing to bubble or run.
Common Mistakes & How to Avoid Them
| Mistake | Solution |
|---|---|
| Overmixing dough | Makes cookies tough; mix only until ingredients are combined. |
| Not chilling dough | Causes cookies to spread; always refrigerate before rolling. |
| Thinning icing too much | Leads to runs; add powdered sugar to thicken if necessary. |
| Rushing decorating | Gives messy results; let icing dry between layers. |
| Using liquid food coloring | Can alter icing consistency; prefer gel colors. |
Variations You Can Try
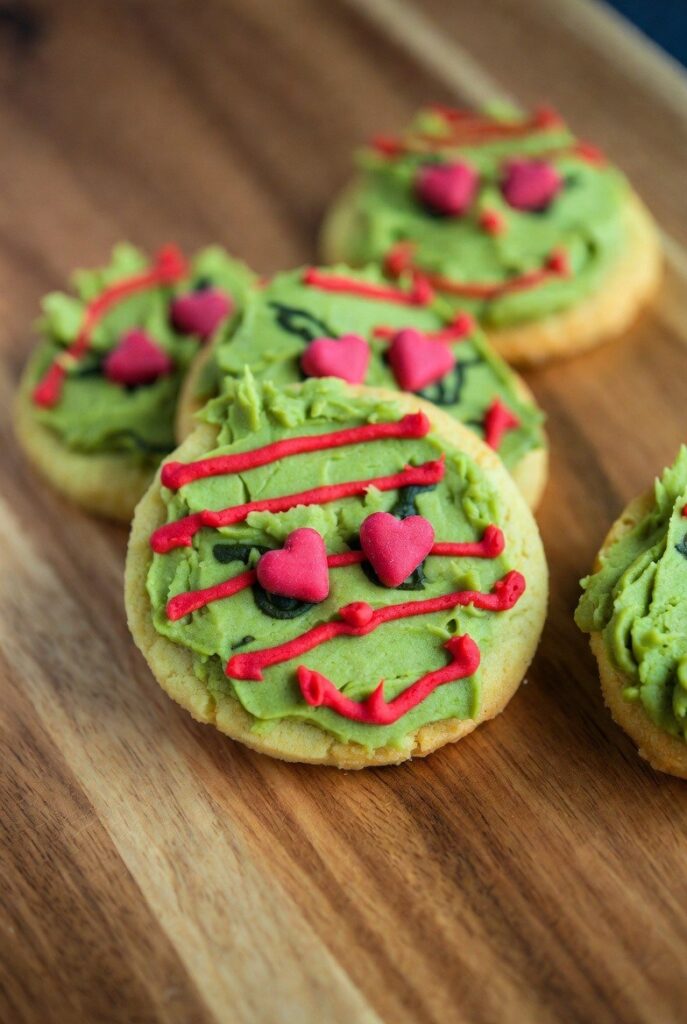
- Mini Grinch Cookies: Use tiny cutters for bite-sized treats.
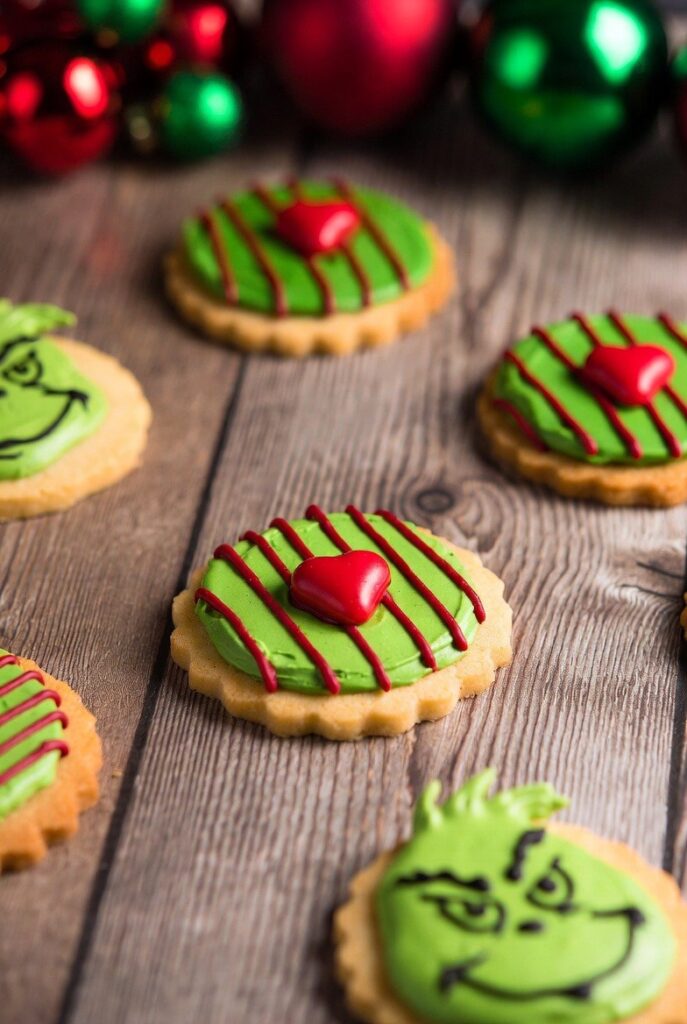
- Grinch with Accessories: Add Santa hats, presents, or Christmas trees.
- Chocolate-Coated Cookies: Dip or drizzle with chocolate for extra flavor.
- Different Expressions: Make some cookies grin mischievously, some look grumpy.
Summary & Final Tips
Creating adorable Grinch cookies isn’t just about baking but combining a bit of artistic flair! Remember, preparation is key—have all your materials ready, and don’t rush the decorating process. The more you practice piping icing and working with colors, the better your results will be. And most importantly, have fun—after all, it’s all about spreading holiday cheer with these festive treats!
Whether you’re a seasoned baker or newbie, these step-by-step instructions and tips should help you craft amazing Grinch cookies that will wow everyone. Grab your apron, gather your ingredients, and get ready to add some green mischief to your holiday celebrations!
Happy baking, and may your cookies bring joy, laughter, and plenty of compliments!